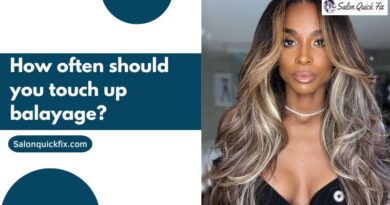
Wavy hair is popular among women who want a stylish and effortless look. It is the perfect blend of straight and curly hair, providing a range of styling options. Women love to have curly or wavy hair & special heat tools that can make the hair curly or wavy in minutes. There are numerous ways to get wavy hair, both with and without heat. So whether you already have wavy hair or want to achieve it, this guide is a must-read.
Summer is the perfect time to flaunt wavy hair, giving you a beachy and nonchalant look. You can easily style it to look stunning and animated, regardless of the color or length of your hair.
In this guide, we’ll share 11 easy methods for getting natural-looking waves.
So, look no further if you want to enhance your wavy hair game!
Understand Your Wavy Hair Type
You will be surprised to know that there are 12 types of hair textures. The textures range from entirely straight to fully coiled hair. But do you know which of them is the most loved & popular texture that women want to have? No, it’s not straight hair but slightly wavy hair. These slightly wavy hair are known as the 2a hair type.
Type 2 Hair, also known as wavy hair, has a curly texture but a straighter texture in it. They are easier to shape than type 3 or type 4 hair. Actually, they get their structure from the shape of the cortex. Type 2 hair is also known as ‘naturally wavy’ for its structure. Actually, these hairs have an ‘S’ shape structure, which gets stronger, the more its sub-type increases.
There are three curl types in type 2 hair:
2a – Slight waves of hair.
2b – Soft waves hair.
2c – Defined waves hair.
All three types have waves with a touch of straightening ranging from low to high. 2a 2b hair types are trendy, as both hair types look very smooth & beautiful. However, the 2a hair type is better for its slightly wavy & loose ‘S’ texture.
2a Wavy Hair – The Best Hair Type?
2a wavy hair is the first hair type that falls between curly & straight strands. This hair type is considered as most manageable & easy to style. This very loose ‘S’ waves hair type actually has the thinnest body structure. This is what gives the lowest wavy structure.
This hair type is one of the best curl types that most women want.
In order to prevent their form from changing, it is always advised not to use heavy hair products with thin structures. Many people even get special hair treatments & use various products to gain this hair type. & If you have this hair structure naturally, you are a lucky person.
Best hair length for this hair type – This hair type gives the best look in a short hairstyle, as they get space for being in their shape & not getting weighed down with other hair. Moreover, the shorter hairstyle looks like a thicker set of locks.
How to Style 2a Hair Type?
Here are some tips on how to style 2a hair types:
- To give your hair more curl, use a 1.5-inch curling rod & enhance the waves & texture of your hair. The hair will look great afterward.
- Use a hair serum to make the hair more light & textured.
- In case you style your hair with heat products like a curler or straightener, don’t forget to use a heat protectant spray on your hair to avoid damage.
- Use a volumizing product to make hair look more thick & shiny.
- While styling your hair, use a styling mousse, or foam rather than using gels or creams. The gels or creams can make your delicate hair greasy, weighing them down.
- Washing your hair before sleeping, you should wrap the hair in a satin or cotton towel, to prevent them from becoming frizzy.
- Use a diffuser in the hair dryer to spread the hot air on the hair evenly.
Products to Take Care of 2a Wavy Hair:
| Image | Product | Detail | Price |
|---|---|---|---|
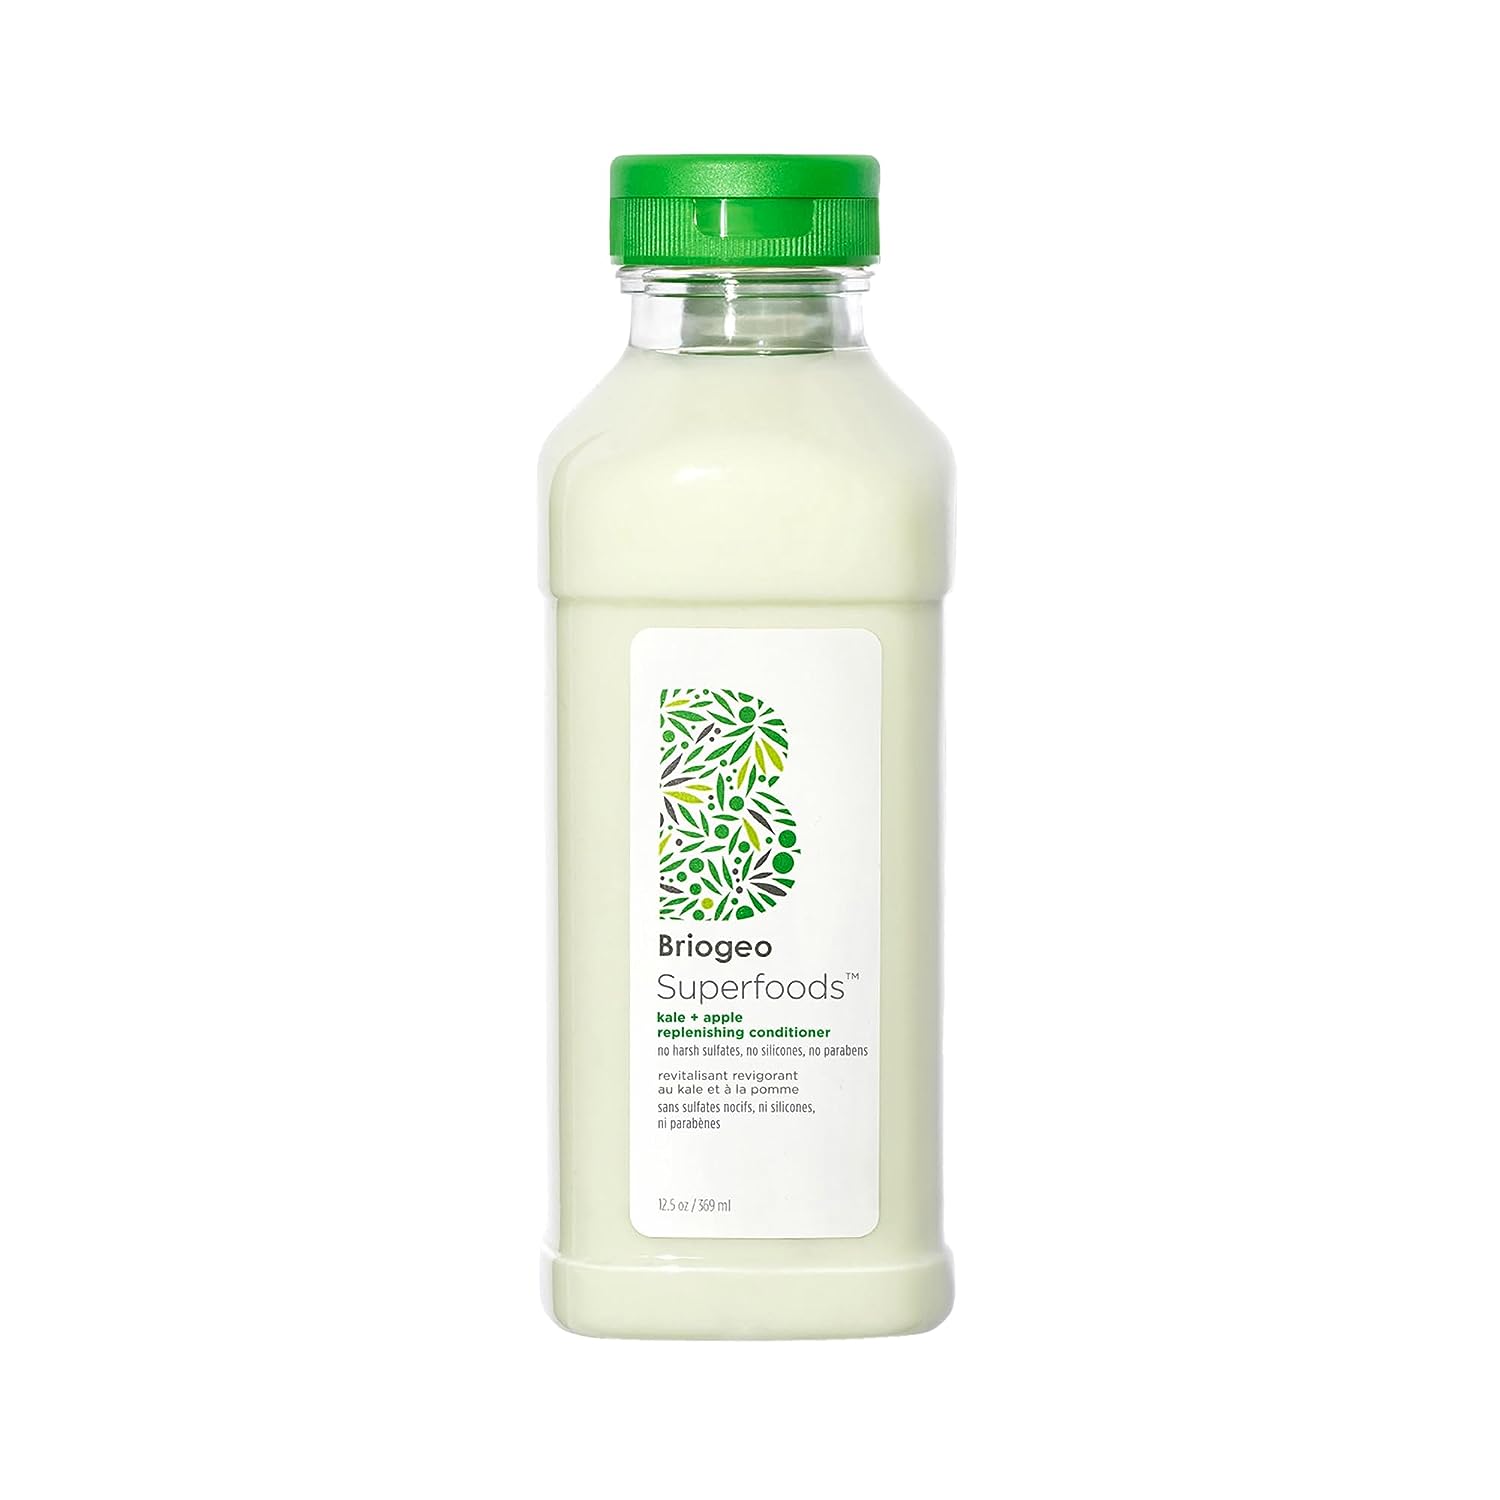 | Briogeo Be Gentle Conditioner |
| Buy Now |
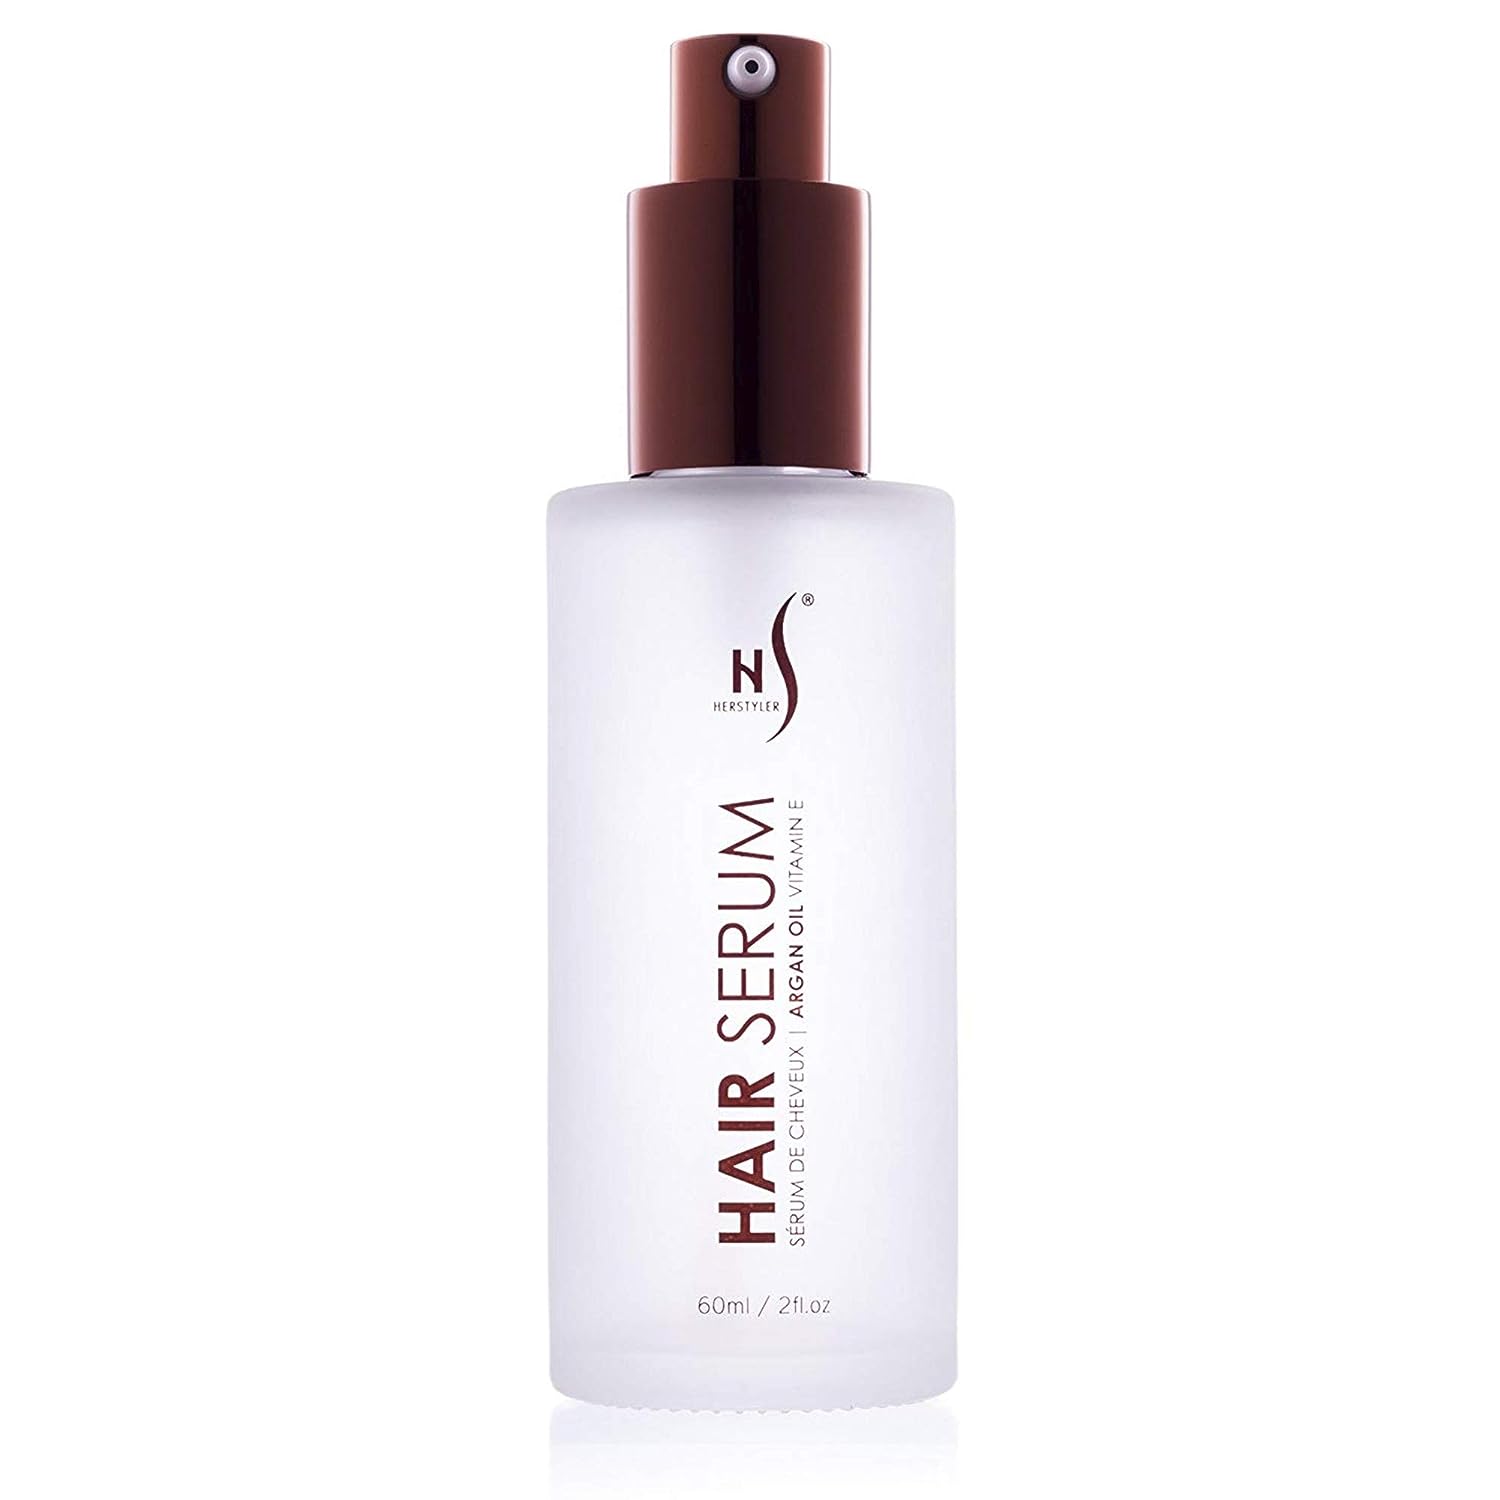 | HerStyler Hair Repair Serum |
| Buy Now |
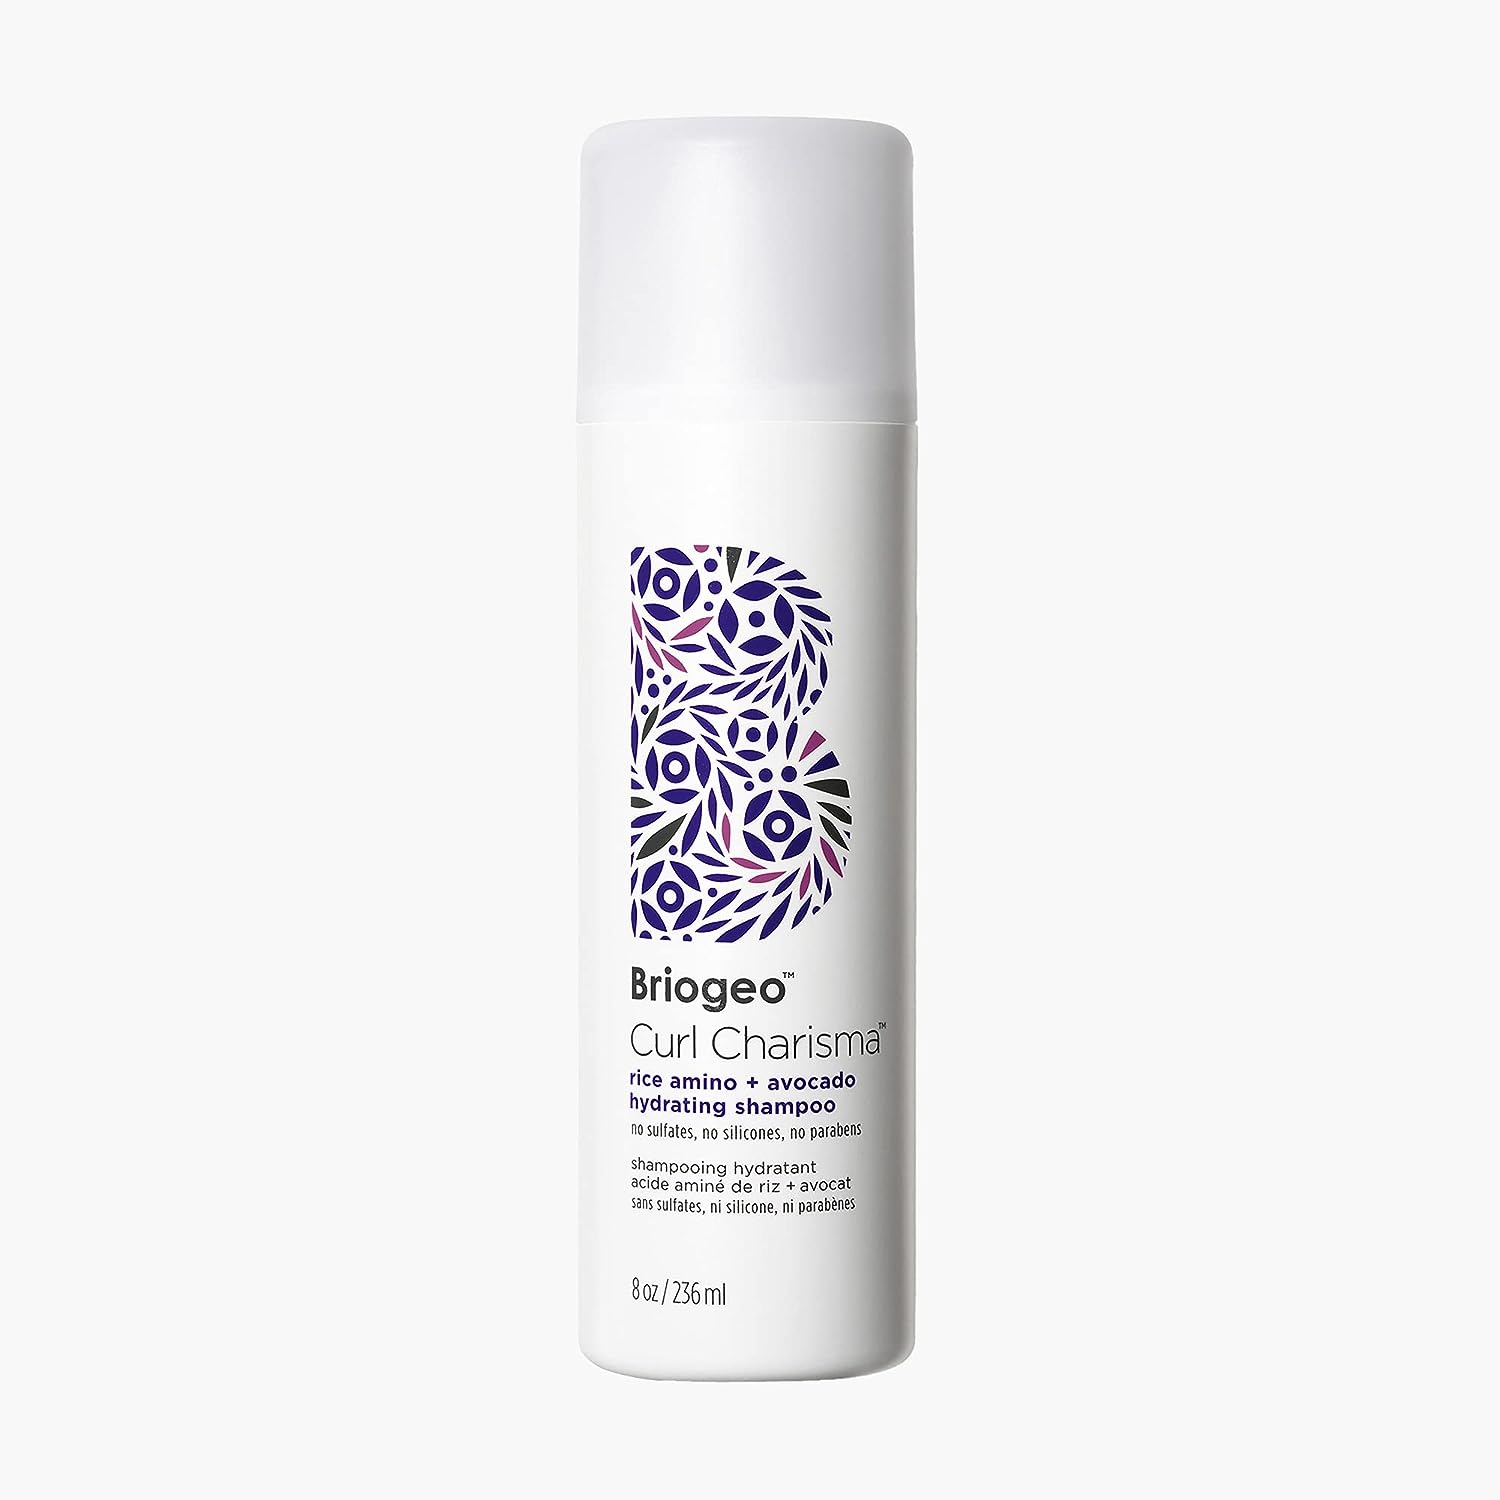 | Briogeo Shampoo |
| Buy Now |
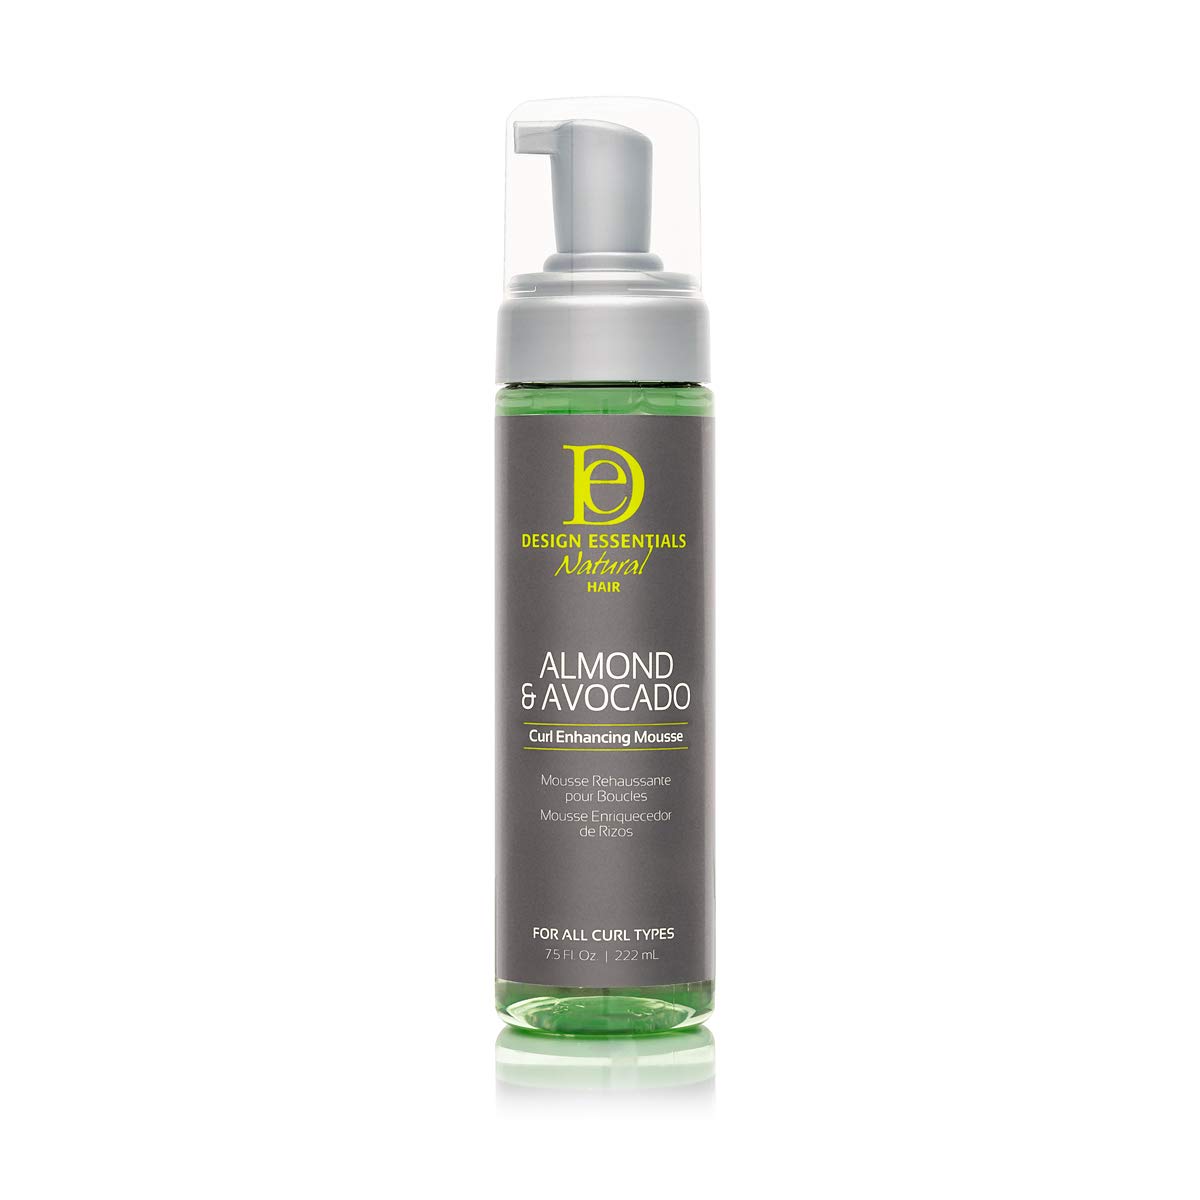 | Design Essentials Curl Enhancing Mousse |
| Buy Now |
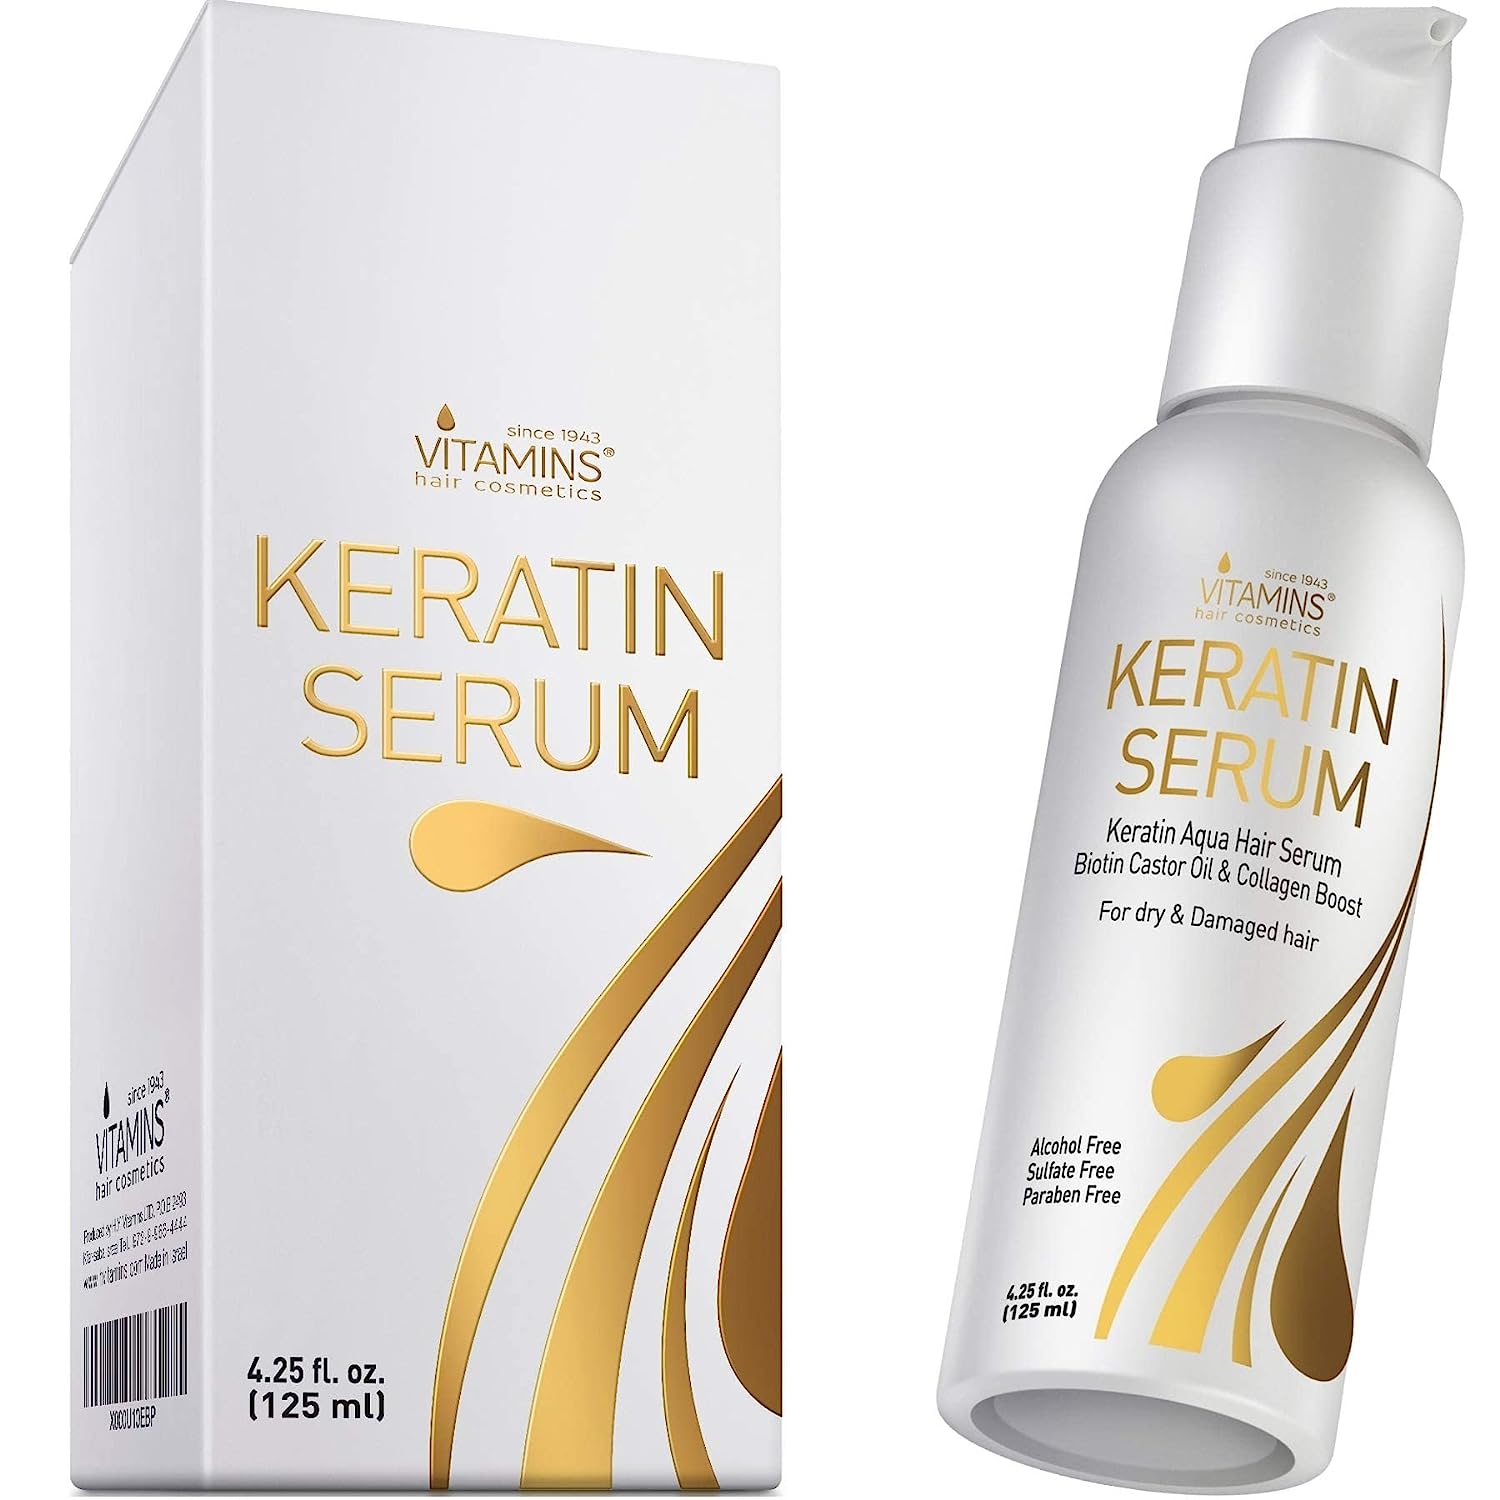 | Vitamins Keratin Protein Hair Serum |
| Buy Now |
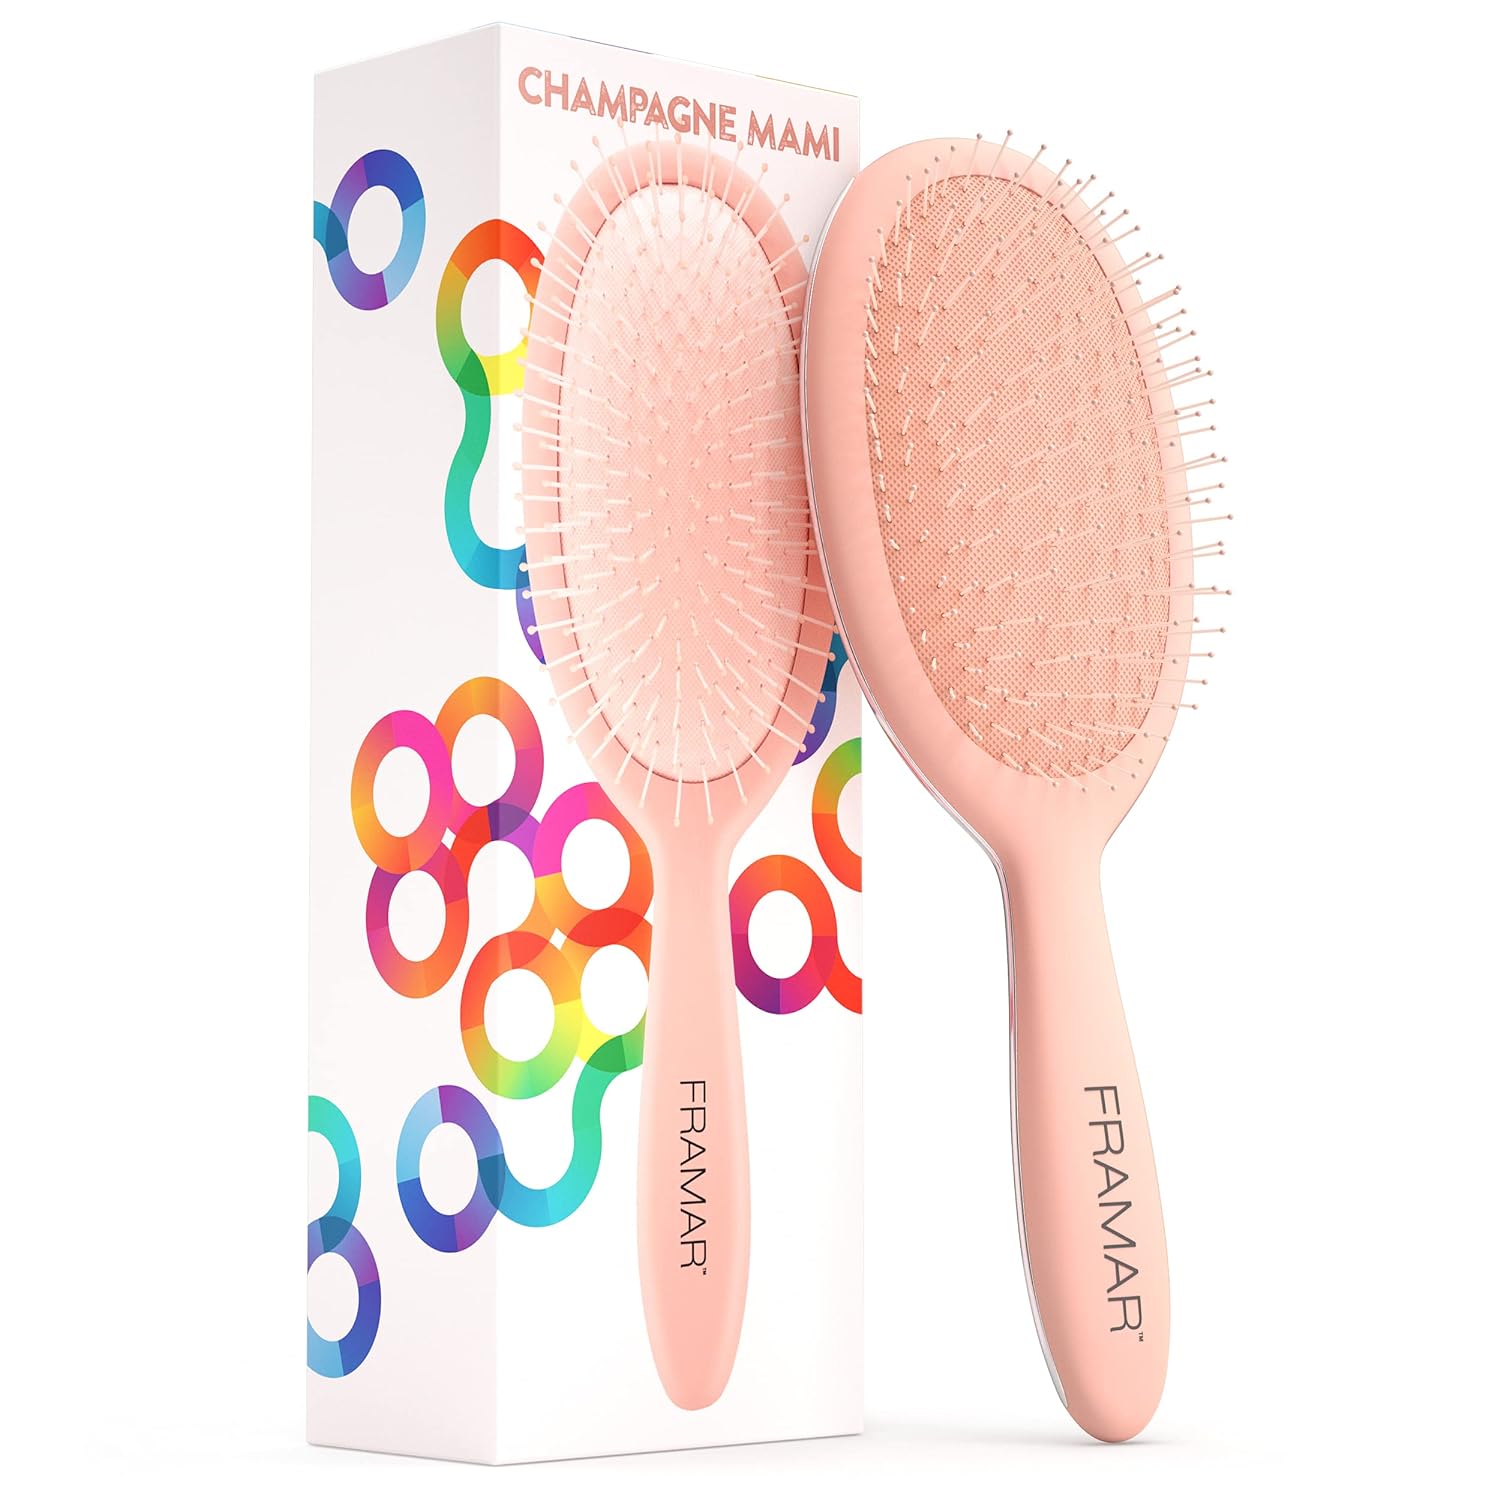 | Framar Detangling Brush for Curly Hair |
| Buy Now |
How to Make Your Hair Wavy Without Heat?
Using a diffuser proves to be an excellent method for achieving natural-looking curls and wavy hair. According to Celebrity Stylist, “A diffuser eliminates the forceful airflow of a standard blow dryer while retaining the heat, which promotes the expansion of curls. It dries curly hair without disturbing the curls, instead using heat to set them in place. If your hair has some natural wave or curl (which is the case for most of us!) and you wish to enhance this look, a diffuser is an excellent choice.”
In addition to utilizing a diffuser, there are other techniques you can explore to achieve those gorgeous beachy waves. Read on to learn more about these techniques.
Method 1: Twisted Crown Technique
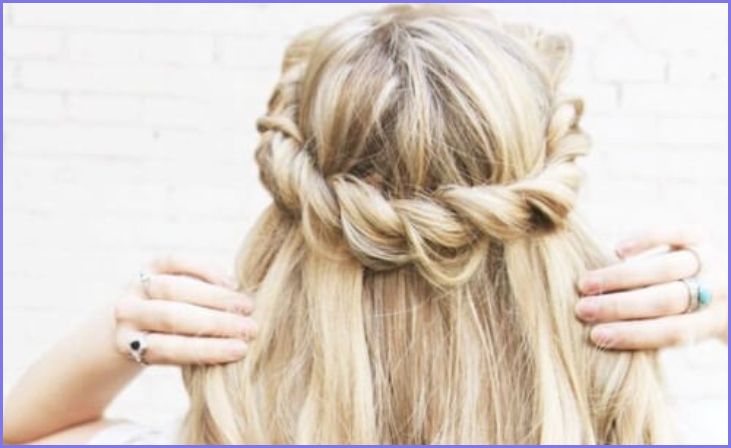
Every woman deserves to feel like a queen, and achieving a royal look for your hair is easier than you might think. This twisted hair technique is like crafting a crown atop your head while you slumber, and when you unravel it, you’re left with stunningly wavy locks fit for royalty.
What You Need:
- Bobby pins
- U-pins
- Light hold hairspray
How to Style:
- Start with damp hair and part it down the middle, creating two equal sections on each side.
- Take the hair on your left side and gently twist it, working your way down until you reach the very end.
- Now, position this twisted hair across the crown of your head and secure it behind your right ear using bobby pins.
- For added security, insert more bobby pins and U-pins as needed to keep the twist firmly in place.
- Repeat the twisting process with the hair on your right side, mirroring the steps you followed on the left.
- Allow these crown twists to stay in your hair overnight, giving them time to set.
- Before unraveling the twists, spritz a light-hold hairspray over your hair.
- Carefully undo the twists and gently shake out your hair to reveal the beautifully crafted waves.
With this technique, you can wake up feeling like royalty with effortlessly glamorous, wavy hair that’s sure to turn heads.
Method 2: The Hair Scrunching Technique
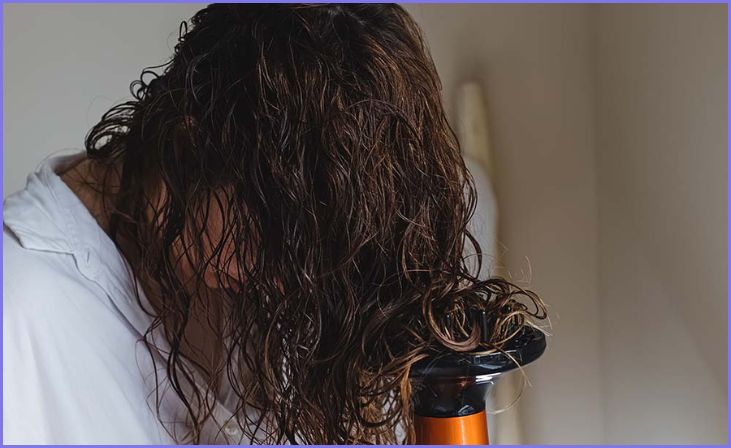
If you’re on the hunt for a sultry way to embrace wavy hair, look no further than the technique of hair scrunching. The best part? You won’t need a comb, brush, or clips—your hands are your primary tool for this effortless style transformation.
What You Need:
- Volumizing mousse
- Towel
How to Style:
- As soon as you step out of the shower, take a generous dollop of volumizing mousse and apply it to your hair. This provides the foundation for those desirable waves.
- Towel dry your hair to remove excess moisture. It’s crucial to get your hair as dry as possible while retaining some dampness for optimal scrunching.
- Lean your head forward, allowing your hair to fall in front of you, creating a cascade of locks.
- Now comes the scrunching technique. With your hands, gather your hair starting from the ends, and gently ball it up in your palms, squeezing it for a few seconds. This motion encourages the formation of waves.
- Continue scrunching your hair every 10 minutes as it dries. This process ensures that the waves set naturally and beautifully.
- Allow your hair to dry completely through this scrunching method.
By following these steps, you’ll effortlessly achieve those sexy, tousled waves you desire. Hair scrunching is a hands-on approach to styling that embraces your hair’s natural texture and results in a seductive and carefree wavy look.
Method 3: The Fishtail Braid Technique
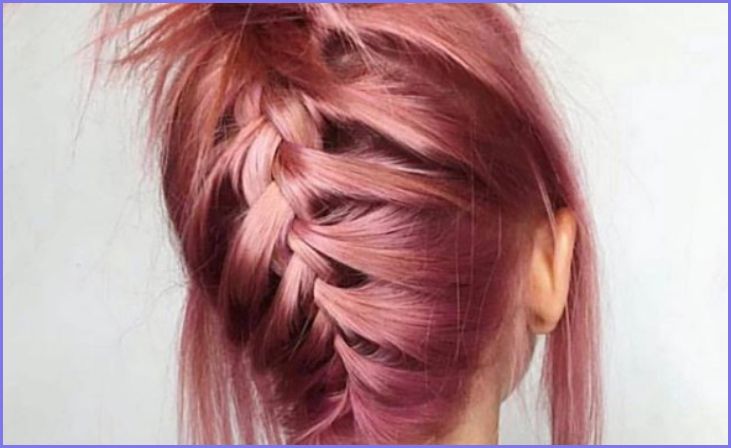
Achieving chic waves couldn’t be simpler than with the fishtail braid technique. This effortless style provides you with a head-turning wave pattern that’s not only easy but also elegant. All it takes is mastering the art of the fishtail braid, and you’re on your way to fabulous waves.
What You Need:
- Texturizing spray
- Hair elastic
How to Style:
- Begin by applying texturizing spray generously all over your hair that’s almost dry. This spray will help create the desired texture for your waves.
- Divide your hair into two equal sections, effectively splitting it down the middle.
- Now, let’s get into the fishtail braid technique. Start by selecting a thin section of hair from the outer side of your left section and cross it over, adding it to the inner side of your right section.
- Then, pick a thin section from the outer side of your right section and bring it over, adding it to the inner side of your left section.
- Repeat steps 3 and 4 alternately, moving back and forth between the two sides, until you reach the end of your braid.
- Secure the end of the braid with a hair elastic to keep it in place.
- Sleep with this fishtail braid overnight to allow the waves to set.
- The next morning, gently undo the braid and shake out your hair to unveil your beautifully crafted waves.
This straightforward fishtail braid technique offers you an uncomplicated yet stunning way to achieve gorgeous waves. By following these steps, you’ll wake up with effortlessly chic hair that’s ready to make a statement.
Quick Link: Keratin Treatment Guide For Curly Hair
Method 4: The Straightened Braids Technique
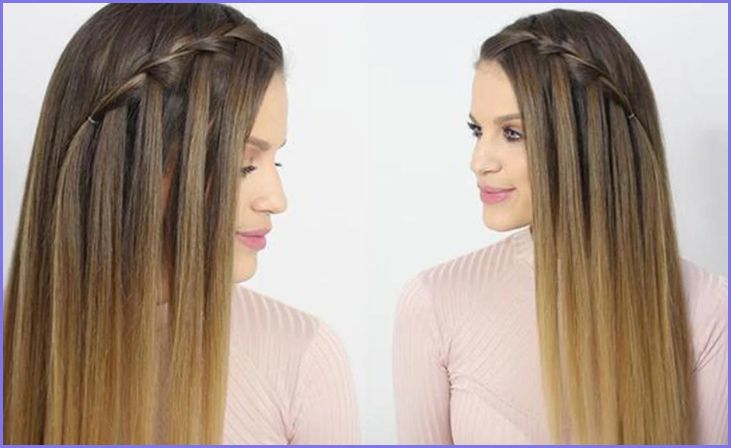
Here’s an innovative and time-saving technique to achieve those stunning waves that are sure to turn heads. This method involves a bit of straightening but results in beautifully defined waves that bring plenty of volume to your hair.
What You Need:
Hair elastics
Hair straightener
Light hold hairspray
How to Style:
- Start with dry hair as the base for this technique. Begin by sectioning your hair and tying it into multiple braids. The number of braids you create will depend on the thickness and length of your hair. More braids can yield tighter waves, while fewer braids result in looser waves.
- Once your hair is braided, gently loosen each braid to make it as flat as possible without completely undoing it.
- Grab your hair straightener and place it at the very top of your first braid. Hold it in place for a few seconds to apply heat.
- Gradually move down your braid, clamping the straightener at intervals and holding it for a few seconds at each spot. This process effectively sets the waves in place.
- Continue this procedure with all of your braids, ensuring even heat application along the length of each braid.
- Before unraveling your braids, apply a light-hold hairspray to help maintain the wave pattern.
- Carefully open each braid, allowing the waves to reveal themselves.
- To add more volume to your waves, gently shake out your hair.
This innovative approach offers a quick way to achieve well-defined waves that exude elegance and allure. By following these steps, you’ll have a head full of voluminous waves that are ready to make a statement.
Method 5: The Scarf Technique
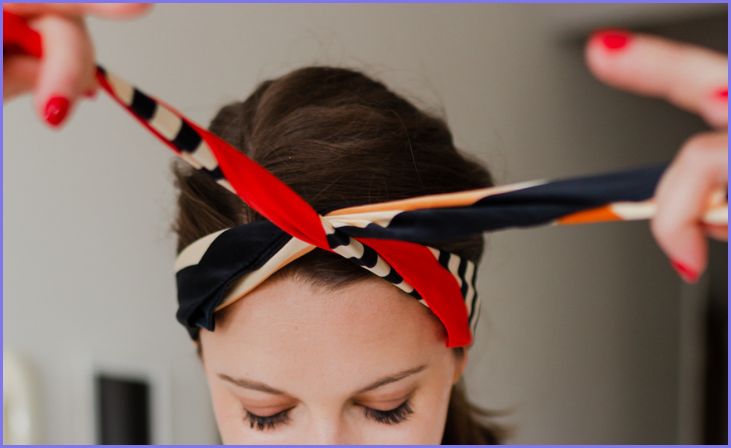
Here’s a stylish hairdo that not only looks charming but also helps create beautiful waves effortlessly. This scarf hairdo is perfect for achieving a pin-up style, and the best part is that when you unravel it, your hair will be adorned with lovely waves.
What You Need:
- Texturizing spray
- A scarf
- Hair elastic
How to Style:
- Begin by spritzing texturizing spray generously all over your damp hair. This step is essential for creating the desired texture in your waves.
- Take a hair elastic and tie it a couple of inches above the ends of your hair. This will create a loose ponytail.
- Next, prepare your scarf by tying a knot at its center point.
- Hold the scarf behind your head and flip the end of your ponytail over it, ensuring that the scarf is positioned securely.
- Now, start rolling the scarf toward your head while wrapping your hair around it. Continue this rolling motion until you reach the roots of your hair.
- Once you’ve reached the roots, tie the end of the scarf at the top of your head, securing everything in place.
- Sleep with this wrapped-up hair overnight to allow the waves to set and take shape.
- In the morning, carefully remove the scarf to reveal your gorgeous, wavy hair.
This stylish scarf hairdo is a delightful way to create waves while sporting an adorable pin-up style. By following these steps, you’ll wake up to effortlessly charming waves that are ready to steal the spotlight.
Method 6: Princess Leia Buns Technique
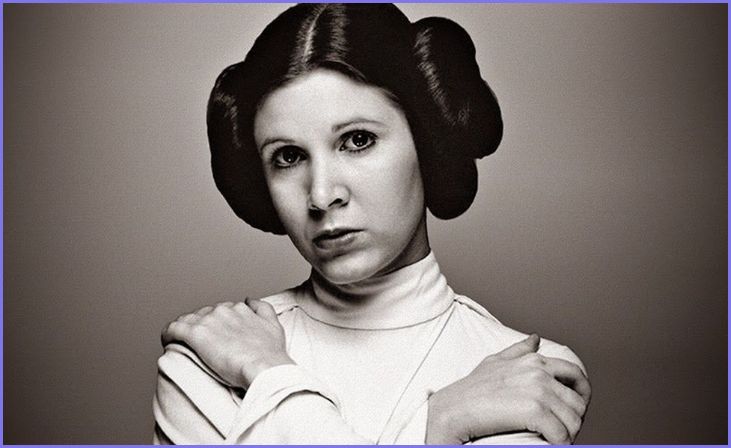
Prepare to embrace the power of the Force as you embark on a journey to achieve dreamy wavy hair. The secret lies in rolling up your hair into two buns reminiscent of Princess Leia, and the next morning, you’ll awaken to the hair of your dreams.
What You Need:
- Hairbrush
- Anti-frizz serum
- Bobby pins
How to Style:
- Begin by gently brushing your hair to ensure it’s free of knots and tangles while it’s still damp.
- Apply anti-frizz serum to your hair to keep it smooth and prevent frizz as it dries. This step is crucial for maintaining the desired sleekness of your waves.
- Create a center part in your hair, dividing it evenly down the middle.
- On one side of the parting (let’s start with the left), pick up a 2-inch section of hair near the left side of the part.
- Begin twisting this section of hair while gradually adding more hair from both sides as you twist. Continue this twisting motion until the section has reached past your ear.
- Once the twisted section reaches the ear’s end, continue twisting the hair all the way to the very tip.
- Now, roll this twisted hair into a bun and secure it behind your ear using bobby pins. For added security, you can also use hair elastics.
- Repeat the same twisting and bun-rolling process on the right side of your part.
- Sleep with these twisted buns in your hair overnight to allow the waves to set.
- The next morning, carefully open up your buns to reveal your beautifully textured waves.
- To enhance the shine of your wavy hair, gently rub a bit of Argan oil all over it, giving it a lustrous finish.
With this delightful hairstyle inspired by Princess Leia, you’ll awaken to the enchanting waves you’ve always dreamed of. May the force of fabulous hair be with you!
Method 7: The Snake Braiding Technique
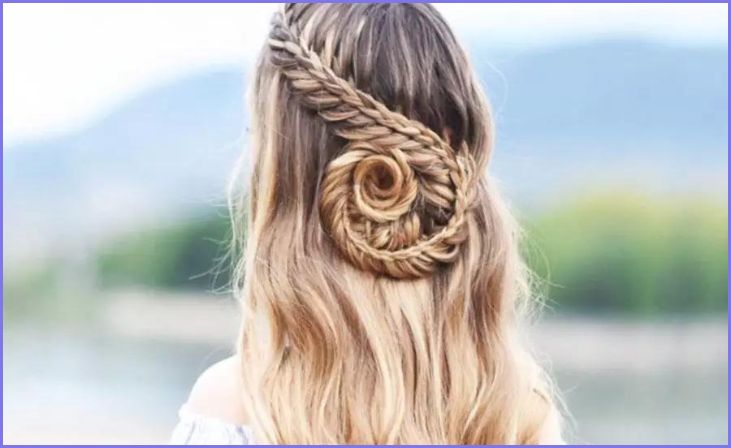
Ladies, prepare your nimble fingers for an extraordinary braiding technique that’s bound to leave you with stunning wavy hair. The Dutch braid that gracefully winds its way around your head creates a captivating hairstyle all on its own, and when unraveled, it reveals gorgeous waves that will surely make heads turn.
What You Need:
- Hair elastic
- Light hold hairspray
- Hairbrush
How to Style:
- Start by brushing your damp hair to ensure it’s free of knots and tangles. This step is essential for creating a smooth foundation for your waves.
- Flip all of your hair forward, bringing it to the front of your head.
- Commence the Dutch braid from the nape of your neck, near your left ear, in a horizontal fashion.
- To create the Dutch braid, pick up a 2-inch section of hair and divide it into three strands.
- Begin braiding by flipping the side strands under the middle strand, while incorporating more hair into the braid with each subsequent strand.
- As you continue the Dutch braid, make sure it reaches near your right ear.
- Change your braiding pattern once the braid approaches your right ear, and continue braiding in the opposite direction.
- Maintain this braiding technique, which resembles a ‘snake’ pattern, to ensure that all of your hair is incorporated into the braid.
- Once you’ve reached the end of your hair and have no more hair to add to the braid, simply braid the remaining section down and secure it to your head using bobby pins.
- Leave this captivating ‘snake’ braid in place until your hair is completely dry.
- Before unraveling your braid, spritz on some hairspray to set the waves in place.
- Gently brush out your hair to reveal the breathtaking wavy hairstyle you’ve created.
This Dutch braid technique not only offers a captivating hairstyle on its own but also yields stunning waves that are sure to impress. Follow these steps, and you’ll unveil a mesmerizing look that’s bound to steal the spotlight.
Method 8: The Hair Knotting Technique
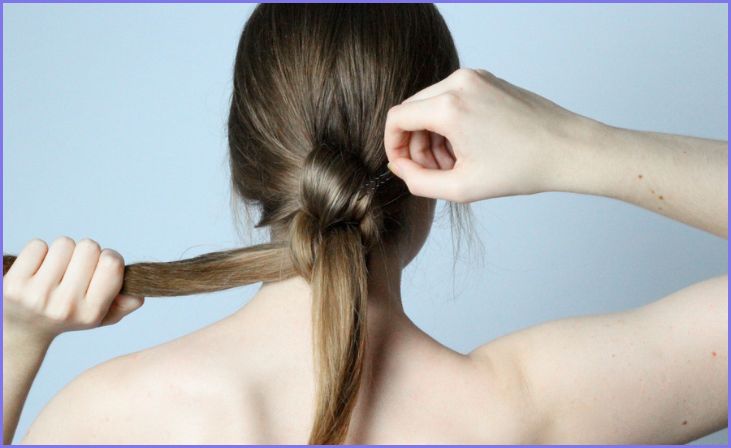
I absolutely adore discovering entirely new hairstyling techniques, especially when they’re as ingeniously creative as this one. The concept of using knots to curl hair is so clever that it’s hard to believe it wasn’t thought of sooner – a true stroke of genius.
What You Need:
Hairbrush
Claw clips or double-prong clips
Hairspray
How to Style:
- Begin by meticulously brushing your damp hair to ensure it’s completely free of any knots or tangles. This step is essential for achieving a smooth foundation for your waves.
- Select a 3-inch section of hair from the front of your head and create a loop with it near the roots.
- Carefully pull the tail end of the hair through the loop you’ve created, but refrain from pulling it all the way through.
- Use claw clips or double-prong clips to secure this knotted section of hair to your head. The knot should be fastened in place to maintain its shape.
- Continue to create knots in this manner with all of your hair, working section by section.
- Leave the knots in place for a few hours or until your hair has fully dried. This allows the curls to set and take shape.
- Before unraveling the knots, give your hair a spritz of hairspray to help set the waves in place.
- Gently brush out your hair to give your waves a softer, more natural look.
This innovative technique of knotting your hair to achieve curls is a testament to the creativity in hairstyling. By following these steps, you’ll unveil a unique and beautifully textured wave pattern that’s sure to leave you feeling inspired and stunning.
Method 9: The Friar Tuck Technique
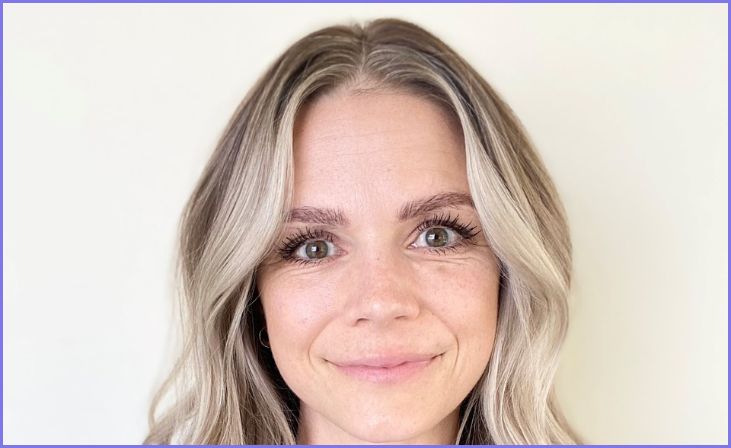
You’d be pleasantly surprised by the versatility of an elasticated headband. Not only is it a stylish accessory, but it can also serve as a valuable tool for creating beautifully defined waves in your hair. And while it’s excellent for hairstyling, rest assured that we’re not recommending it as a makeshift slingshot for any other purpose!
What You Need:
- Hairbrush
- Sea salt spray
- Elasticated headband
- Silk scarf
- Dry shampoo
How to Style:
- Begin by meticulously brushing your dry hair to ensure it’s entirely free of knots and tangles, setting the stage for smooth styling.
- To divide your hair into two equal sections, part it down the center.
- Dampen your hair by spritzing it generously with sea salt spray. This will help create texture and enhance the wavy effect.
- Place the elasticated headband across your forehead, ensuring that all of your hair is tucked neatly underneath it.
- Start the styling process on the left side by picking up a 2-inch section of hair. Flip it upward and tuck it under the headband.
- Gradually add more hair to this section and continue flipping and tucking it in the same manner.
- Repeat steps 5 and 6 consistently until you’ve worked your way to the back of your head on the left side.
- Now, perform the same tucking procedure on the right side, ensuring that both sides match evenly.
- To prevent any frizz and maintain the style, tie a silk scarf around your hair, securing it in place. Leave this in overnight.
- The next morning, gently release your hair from the headband, taking care not to disrupt the waves you’ve created.
- Brush through your hair to eliminate any tangles and create a softer, more natural wave effect.
- Complete the look by applying some dry shampoo to provide your waves with added hold and volume.
This innovative technique involving an elasticated headband offers a stylish way to achieve defined waves. By following these steps, you’ll wake up with beautifully textured hair that exudes effortless charm and style.
Apart from these techniques, you can use a curling iron and hairdryer which are other methods for making your hair wavy.
Method 10: Using a Curling Iron
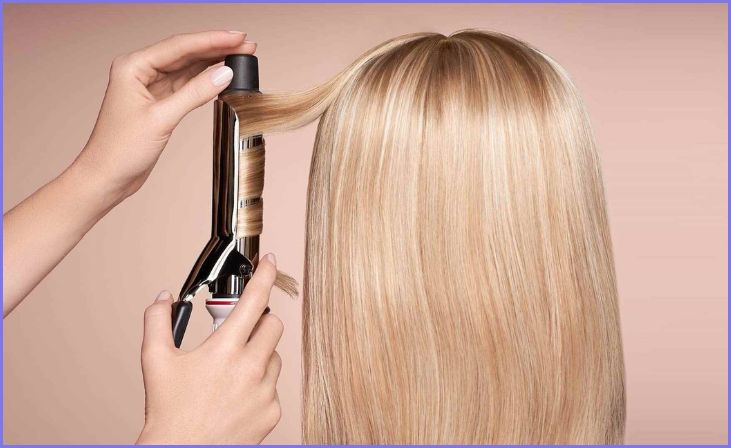
Making your hair wavy with a curling iron is a straightforward process. Here are the steps:
- Start with clean, dry hair. If your hair is freshly washed, you’ll want to wait until it’s completely dry before curling it.
- Section your hair. Divide your hair into sections, depending on how thick it is and how tight you want the curls to be. For loose waves, use bigger sections; for tighter curls, use smaller sections.
- Apply heat protectant. To prevent heat damage, it’s important to use a heat protectant spray or serum on your hair before using a curling iron.
- Choose the right curling iron. There are different types of curling irons available in the market, with different barrel sizes and shapes. You can choose one based on the type of waves you want to achieve.
- Start curling. Take one section of hair, hold the curling iron vertically, and wrap the hair around the barrel, making sure to keep the ends out. Hold for a few seconds, release, and repeat until you’ve curled all your hair.
- Alternate the direction of the curls. To achieve more natural-looking waves, alternate the direction of the curls. For example, curl one section towards your face and then the next section away from your face.
- Use a hair spray or hair wax. To help set the curls and add hold, use a hair spray or hair wax once you’ve finished curling all your hair.
- Wait until your hair has cooled. Once you’ve curled your hair, let it cool completely before touching it or brushing it.
- Break up the curls. To create natural-looking waves, you can use your fingers or a wide-tooth comb to gently break up the curls and create a more relaxed wave.
Finish with a light-hold hairspray. To help hold the style in place, you can use a light-hold hairspray for added hold and frizz control.
Method 11: Creating Waves with a Hairdryer
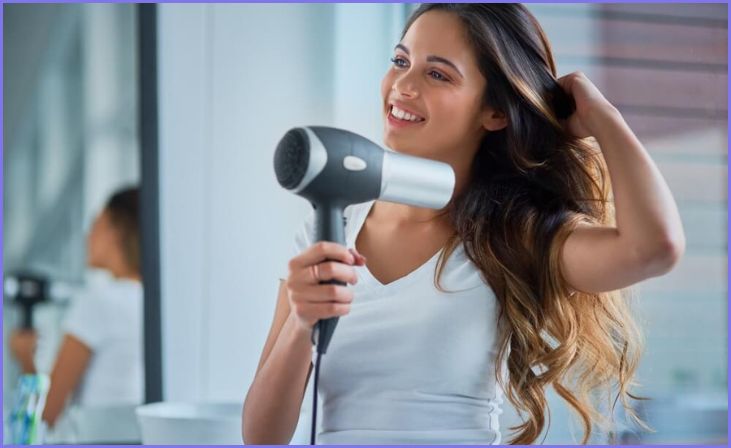
Creating waves with a hairdryer is a quick and easy way to get wavy hair. The process starts by washing your hair and towel-drying it to remove excess moisture. Next, to protect your hair from damage, apply a heat-protectant spray. Then, divide your hair into sections and secure each section with a hairclip or hairband.
- Take one section at a time and blow-dry your hair using a diffuser attachment on your hairdryer.
- Place the diffuser close to your roots and gently scrunch your hair while blowing hot air on it. Repeat this process on each section until your hair is completely dry.
- To add more definition to your waves, use a curling iron or a hair wand to curl the ends of each section.
- Wrap your hair around the iron in a spiral motion, hold it in place for a few seconds, and then release it. Repeat this process in each section.
- Once you have curled all the sections, use your fingers to tousle your hair and create more natural-looking waves. Finally, hold your waves in place with a light-hold hair spray.
It’s important to be careful not to use too much heat and always use a heat protectant spray to avoid damaging your hair. With these steps, you can easily get beautiful, wavy hair.
However, these are the only two heating methods that help you to get your wavy hair.
You May Also Like: How to Open a Hair Salon: A Guide to Get You Started
Bonus Method 12: Get Beachy waves using Sea Salt Spray
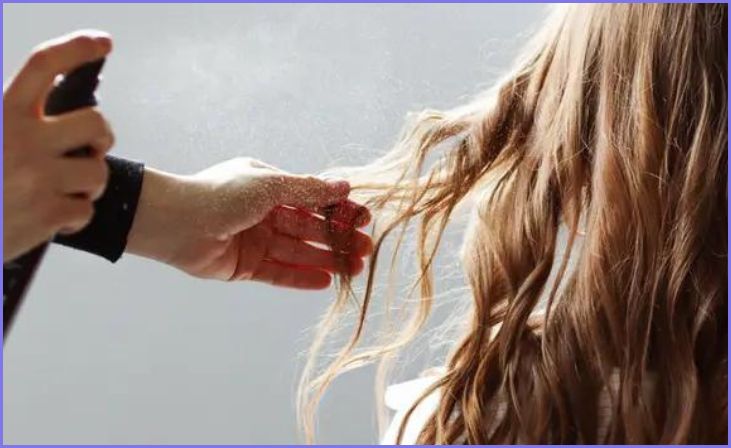
Salt Spray imitates the look of hair after a carefree day at the beach by adding texture. Even it adds a messy aspect to it. These products provide volume and body to thick hair by opening the cuticle and plumping the hair strands. Moreover, also gives volume to fine hair types and offers a light, flexible hold to fine hair types. This results in a natural finish with an invisible look. It is ideal for individuals who loathe the sensation of product in their hair and want to avoid it. Other products, including pomades, benefit from salt sprays since they boost their style qualities.
Layering the L’ange Hair Sea Salt Spray with the brand’s texture paste will give your look even more dimension and depth. In addition, salt sprays, which are ideal for longer, looser, or more relaxed hairstyles, give the appearance of weathered, surfer tresses.
How to Use Sea Salt Spray?
1. Make sure your hair is wet.
To get the ideal beachy waves, skip the wash and just rinse your hair with water. Before allowing it to air dry until it is only slightly wet. Next, make a comb through your moist hair to eliminate any knots or tangles that have formed.
2. Shake the can of spray.
Before you start sprinkling sea salt spray, double-check that the product you’ve selected has been well mixed together. Because sea salt sprays include solid materials like salt, ingredients may settle over time due to the natural settling process. Don’t forget to shake your bottle thoroughly before spritzing.
3. Let the spraying begin.
You should spray sea salt spray on one area of hair at a time. This will ensure that every part of your hair is receiving its benefits. Concentrate on the roots and a mid-length portion of your strands since the tips of your strands are more susceptible to drying out and damage. The amount of sea salt spray you should apply is determined by your hair type and the product you are using. Make no apprehensions about starting with a tiny quantity and gradually increasing the amount if necessary.
4. Twist and crush your way through.
Now comes the exciting part. Start twisting and scrunching your hair once you’ve applied your sea salt spray, working in little sections at a time. The more you twist and scrunch your hair, the wavier it will end up looking. You may alternate spraying and scrunching, or you can spray first and then scrunch your way through the process.
5. Comb your hair back.
As long as your hair is still a little moist from the pre-rinse and spray, you may use a blow dryer. Because applying excessive heat to sea salt-sprayed hair might undo the texturizing results. The diffuser mode setting is cold and delicate, closely resembling the feel of the air.
8 Best Sea-Salt Sprays for Beachy, Wavy Hair
To experience this essential summer hair product for yourself, explore our curated selection of favorite options below to achieve beachy hair whenever you desire.
1. Unite Beach Day Texturizing Sea Salt Spray
Unite Beach Day Texturizing Sea Salt Spray
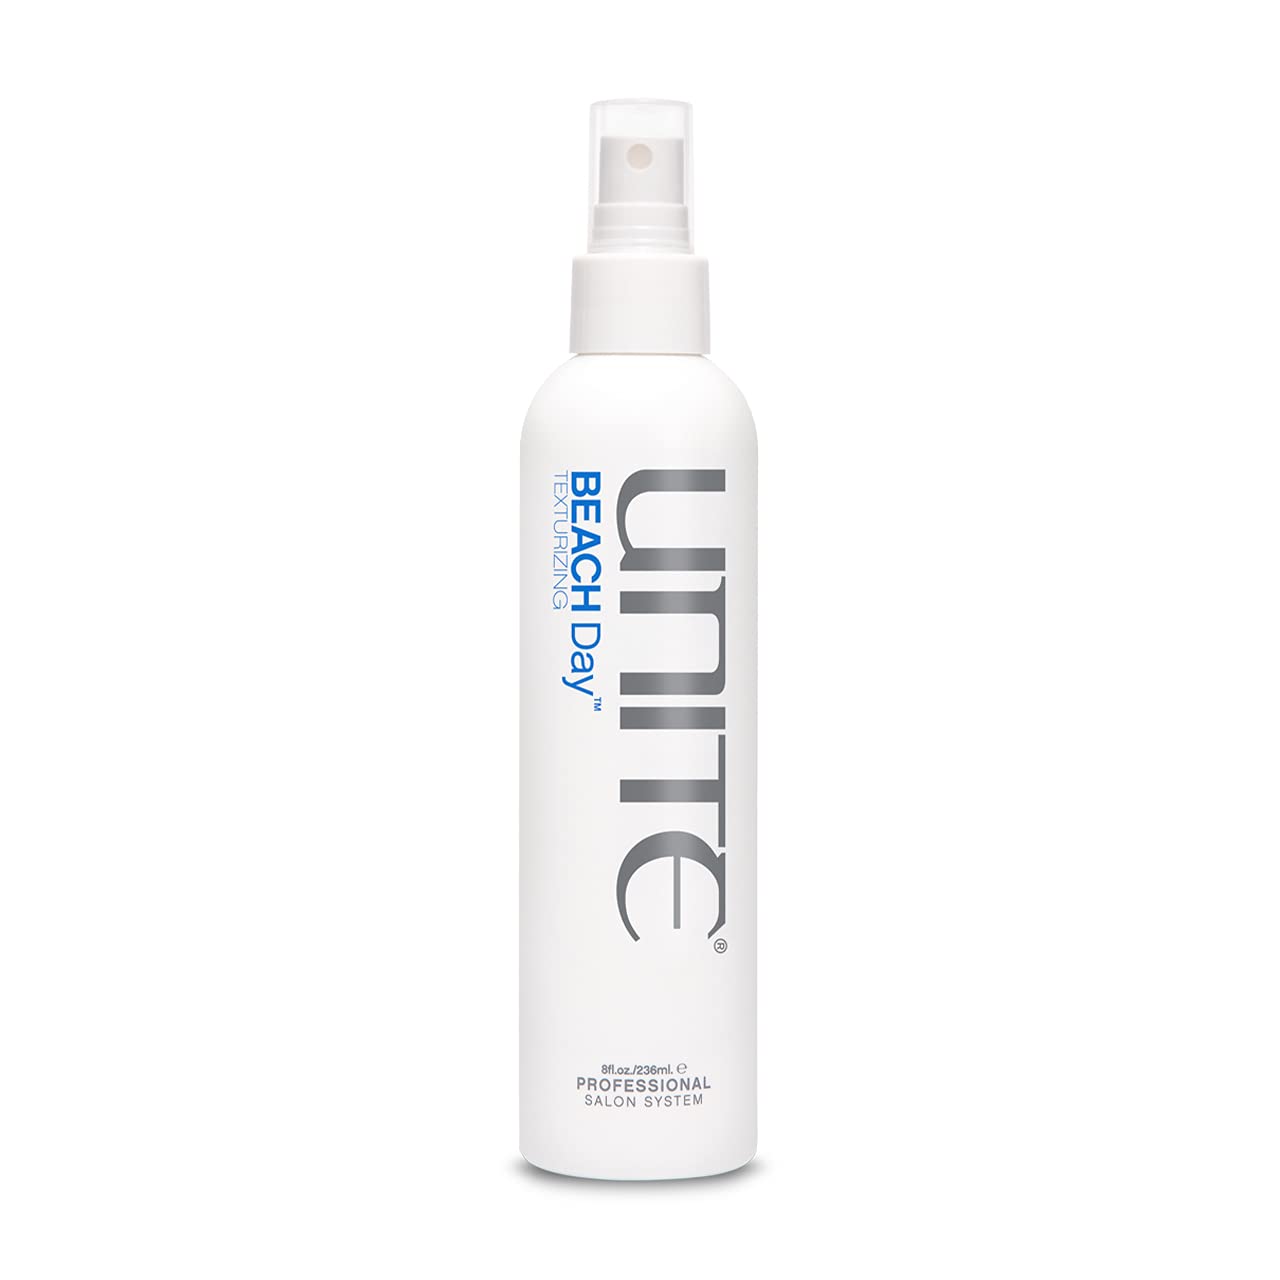
- Product Benefits: Natural sea salt creates a beach-like texture.
- Hair Type: Styling Hair Spray
- Material Type Free: Nil
- Scent: Floral scent
- Liquid Volume: 236.59 Milliliters
To infuse a beach-inspired feel into wavy or curly hair, the hairstylist relies on Unite’s Beach Day Texturizing Sea Salt Spray. Crafted with the intention of preserving curls, this spray demonstrates that you don’t need to compromise hair hydration for added texture. It harnesses the power of natural sea salt to enhance texture and volume, while moringa seed oil acts as a moisture sealant, ensuring your curls remain glossy. Furthermore, this mist leaves hair free from stickiness and imparts a matte finish.
2. Sachajuan Ocean Mist
Sachajuan Ocean Mist
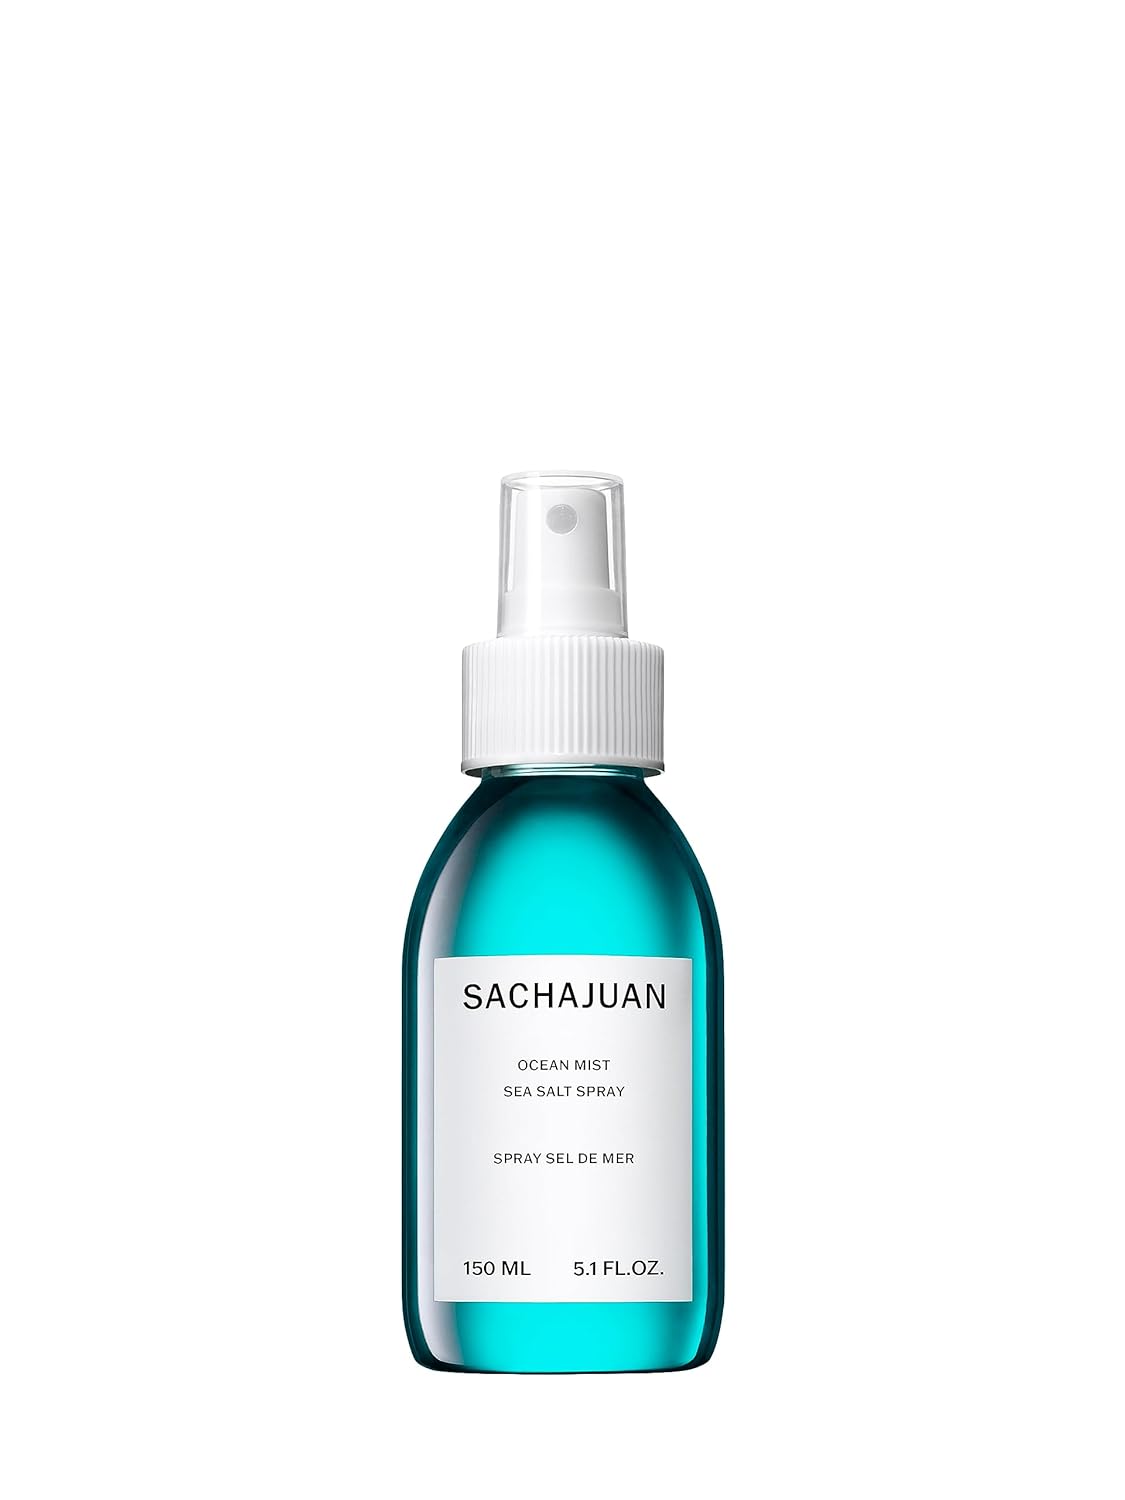
- Product Benefits: Adds grip, volume, and texture. Super versatile – blow dry, diffuse, or air dry. Suitable for all hair types.Adds grip, volume, and texture. Super versatile – blow dry, diffuse, or air dry. Suitable for all hair types.
- Hair Type: Normal
- Material Type Free: Mineral Oil Free
- Scent: Fruity flora
- Liquid Volume: 150 Milliliters
Crafted with a vitamin-enriched blend, this spray provides precisely the ideal level of hold, with vitamin B12 providing nourishment for enhanced body and shine. Enthusiasts adore its capacity to maintain a healthy appearance for strands, all while avoiding that undesirable straw-like texture. We recommend keeping a supply on hand for the summer season.
3. Briogeo Superfoods Banana + Coconut Hydrating Soft Wave Texture Spray
Briogeo Superfoods Banana + Coconut Hydrating Soft Wave Texture Spray
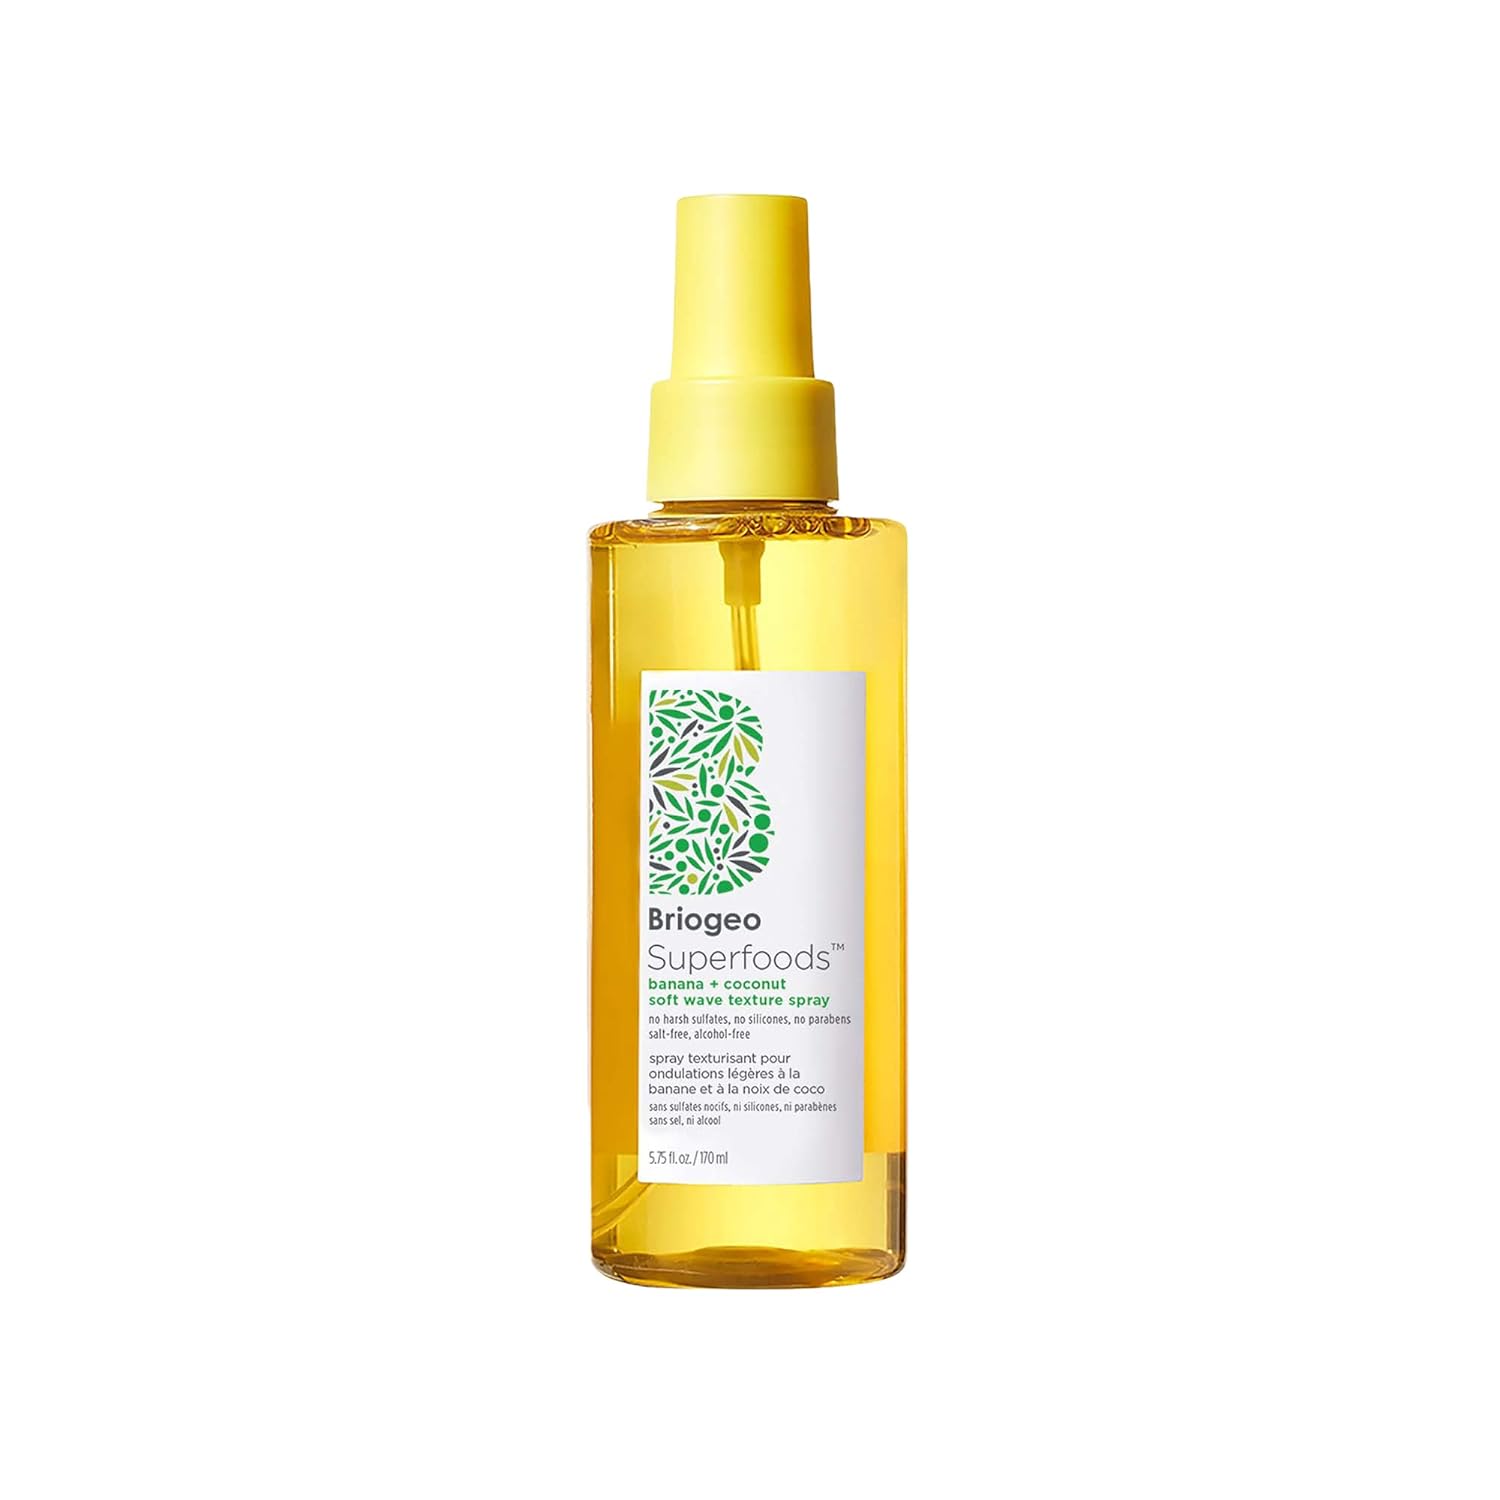
- Product Benefits: Hydrating
- Hair Type: Wavy
- Material Type Free: Dye Free, Sulfate Free, Phthalate Free, Paraben Free
- Scent: Coconut
- Liquid Volume: 170 Milliliters
Briogeo has developed a wave spray so exceptionally hydrating that it’s proudly part of its name. To achieve the best outcome, apply the Superfoods Banana + Coconut Hydrating Soft Wave Texture Spray to your hair, and then scrunch or twist your locks to create those beautiful waves. Alternatively, you can use a diffuser to firmly set your curl pattern. Don’t be alarmed by the absence of salt in the formula—this spray will still grant you the beachy bombshell hair you’ve always wished for.
4. Davines This Is A Salt Spray
Davines This Is A Salt Spray
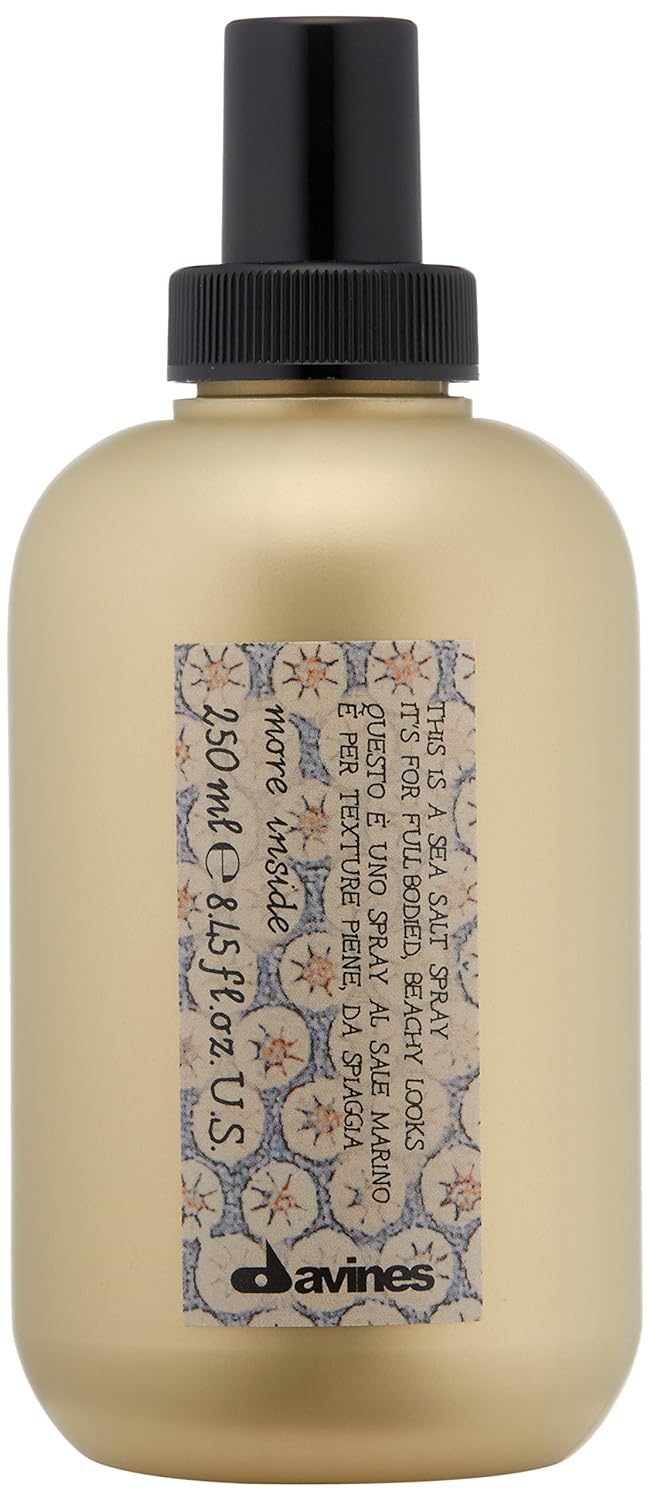
- Product Benefits: Hair is beachy, wavy, and enhanced with body and shine.
- Hair Type: All
- Material Type Free: Silicone Free
- Scent: Unscented
- Liquid Volume: 250 Milliliters
It’s a well-known fact that thicker hair has a tendency to overwhelm styling products. However, this water-based salt spray has been meticulously crafted with moisture infusion to combat dryness and flakes, making it gentle even on those with voluminous hair. Users adore its matte finish, especially since some sea salt sprays can inadvertently impart an undesired wet appearance. To achieve maximum volume, simply scrunch the product into damp hair and run a diffuser through it.
5. OGX Moroccan Sea Salt Spray
OGX Moroccan Sea Salt Spray
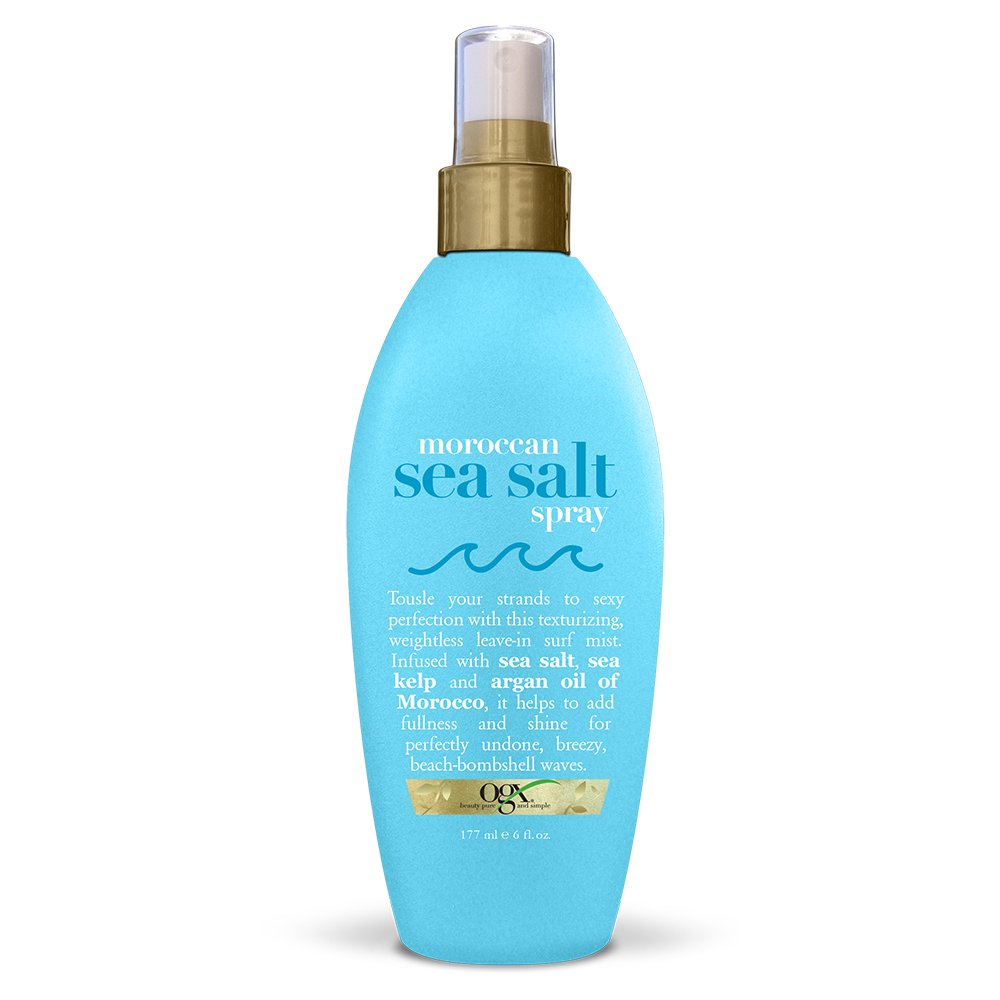
- Product Benefits: Shine
- Hair Type: All
- Material Type Free: Paraben Free, Sulfate Free
- Scent: Moroccan Sea Salt
- Liquid Volume: 6 Fluid Ounces
The key ingredient that elevates the OGX Moroccan Sea Salt Spray is no secret at all – it’s argan oil. This exceptional hydrating component introduces a lustrous and silky quality to your waves. So, if you’re not a fan of texturizing sprays that leave a matte finish, don’t hesitate to add this one to your cart right away.
6. Rahua Enchanted Island Salt Spray
Rahua Enchanted Island Salt Spray
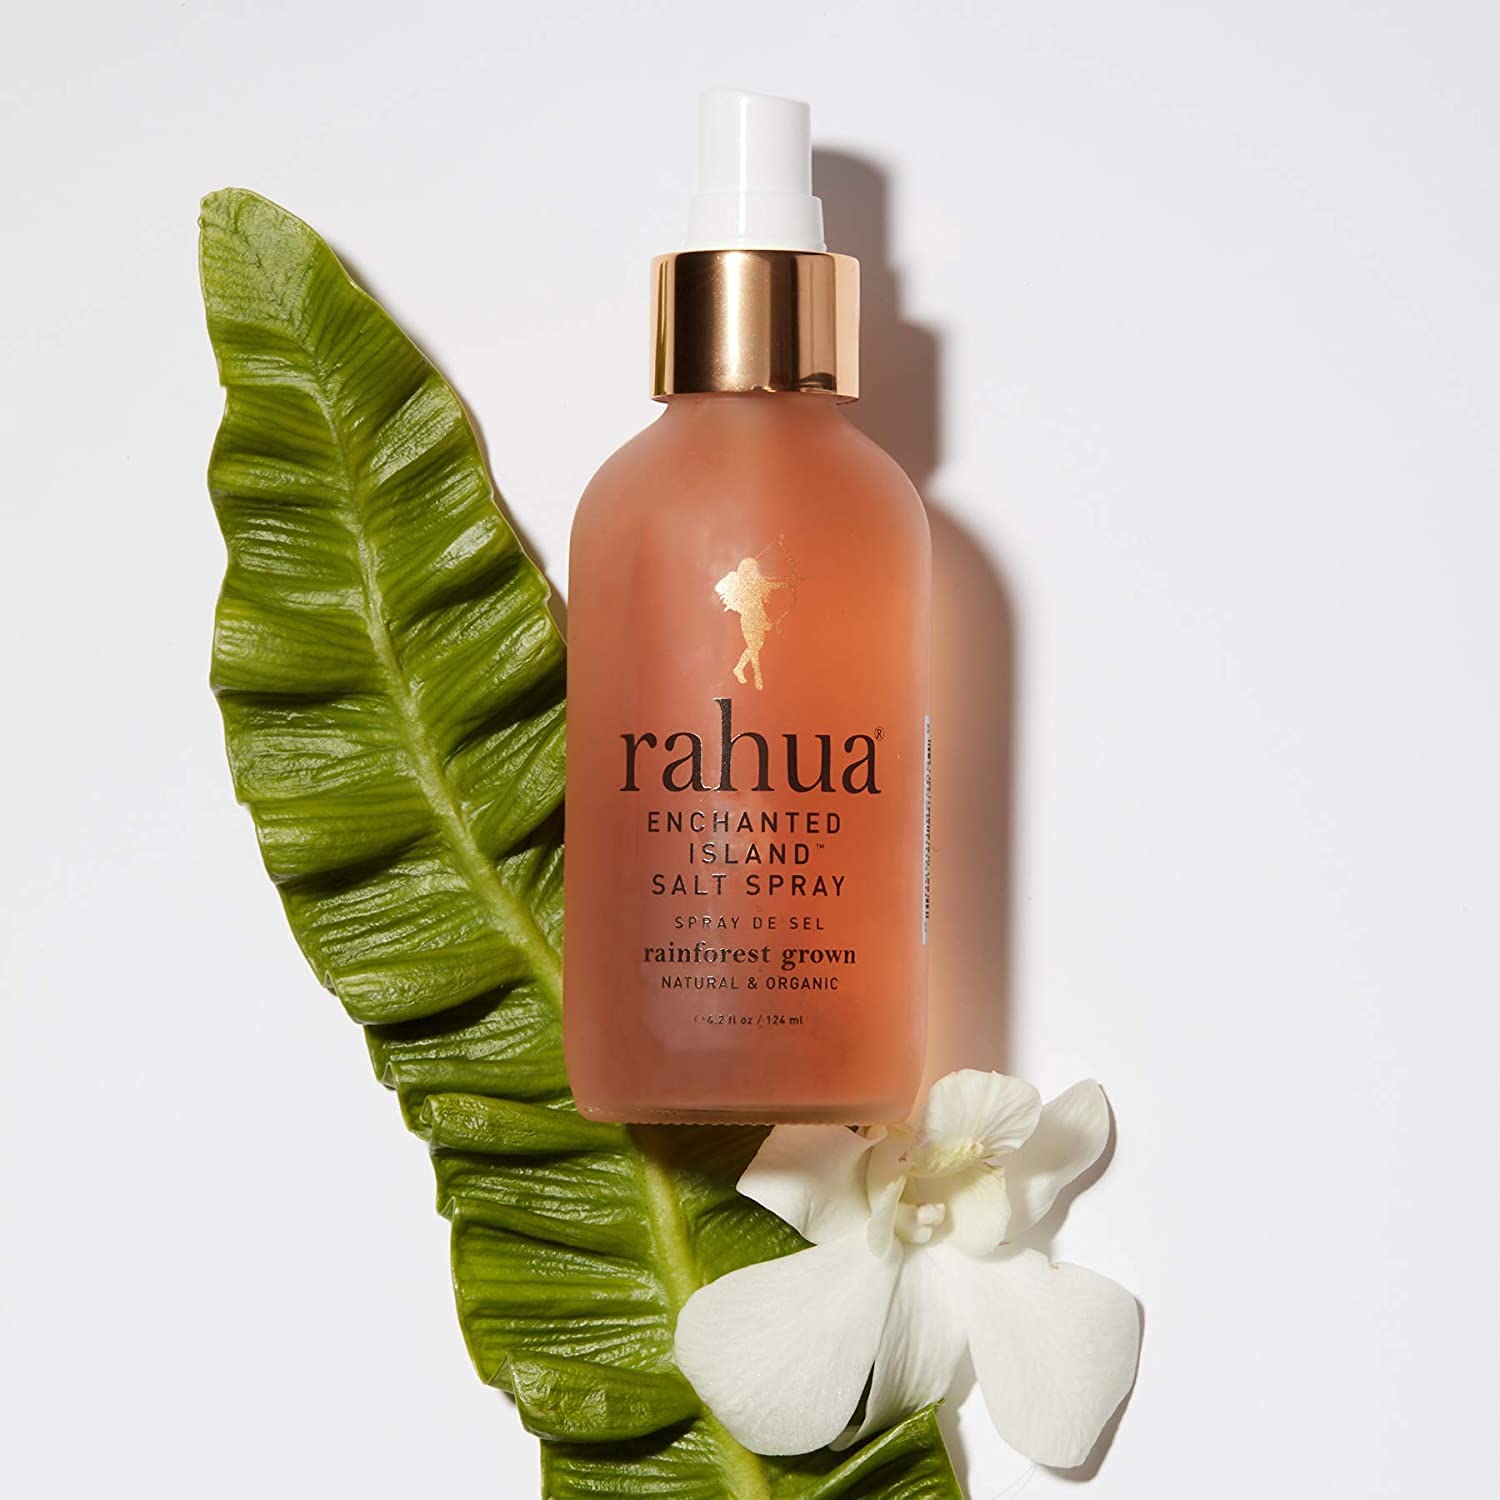
- Product Benefits: Delivers loose, sexy, beachy waves. Creates volume and texture. Provides light, brushable hold.
- Hair Type: Normal
- Material Type Free: Paraben Free
- Scent: Guayaba, Hibiscus, and Passion Fruit
- Liquid Volume: 4.2 Fluid Ounces
Individuals with fragile, brittle hair will adore this spray, thanks to its blend of enriching components: Vitamins B6, A, C, and E work together to fortify hair parched by summer, while aloe vera seals in moisture, and sacha inchi aids in conditioning. The starring ingredient, pink sea salt, enhances texture, while guayaba sugar imparts a subtle, tropical fragrance.
Whether you’re stashing it in your carry-on to enhance those beachy waves on your next vacation or using it in the bathroom to mimic the look during your workday, this spray is a versatile must-have.
7. Not Your Mother’s Beach Babe Texturizing Sea Salt Spray
Not Your Mother’s Beach Babe Texturizing Sea Salt Spray
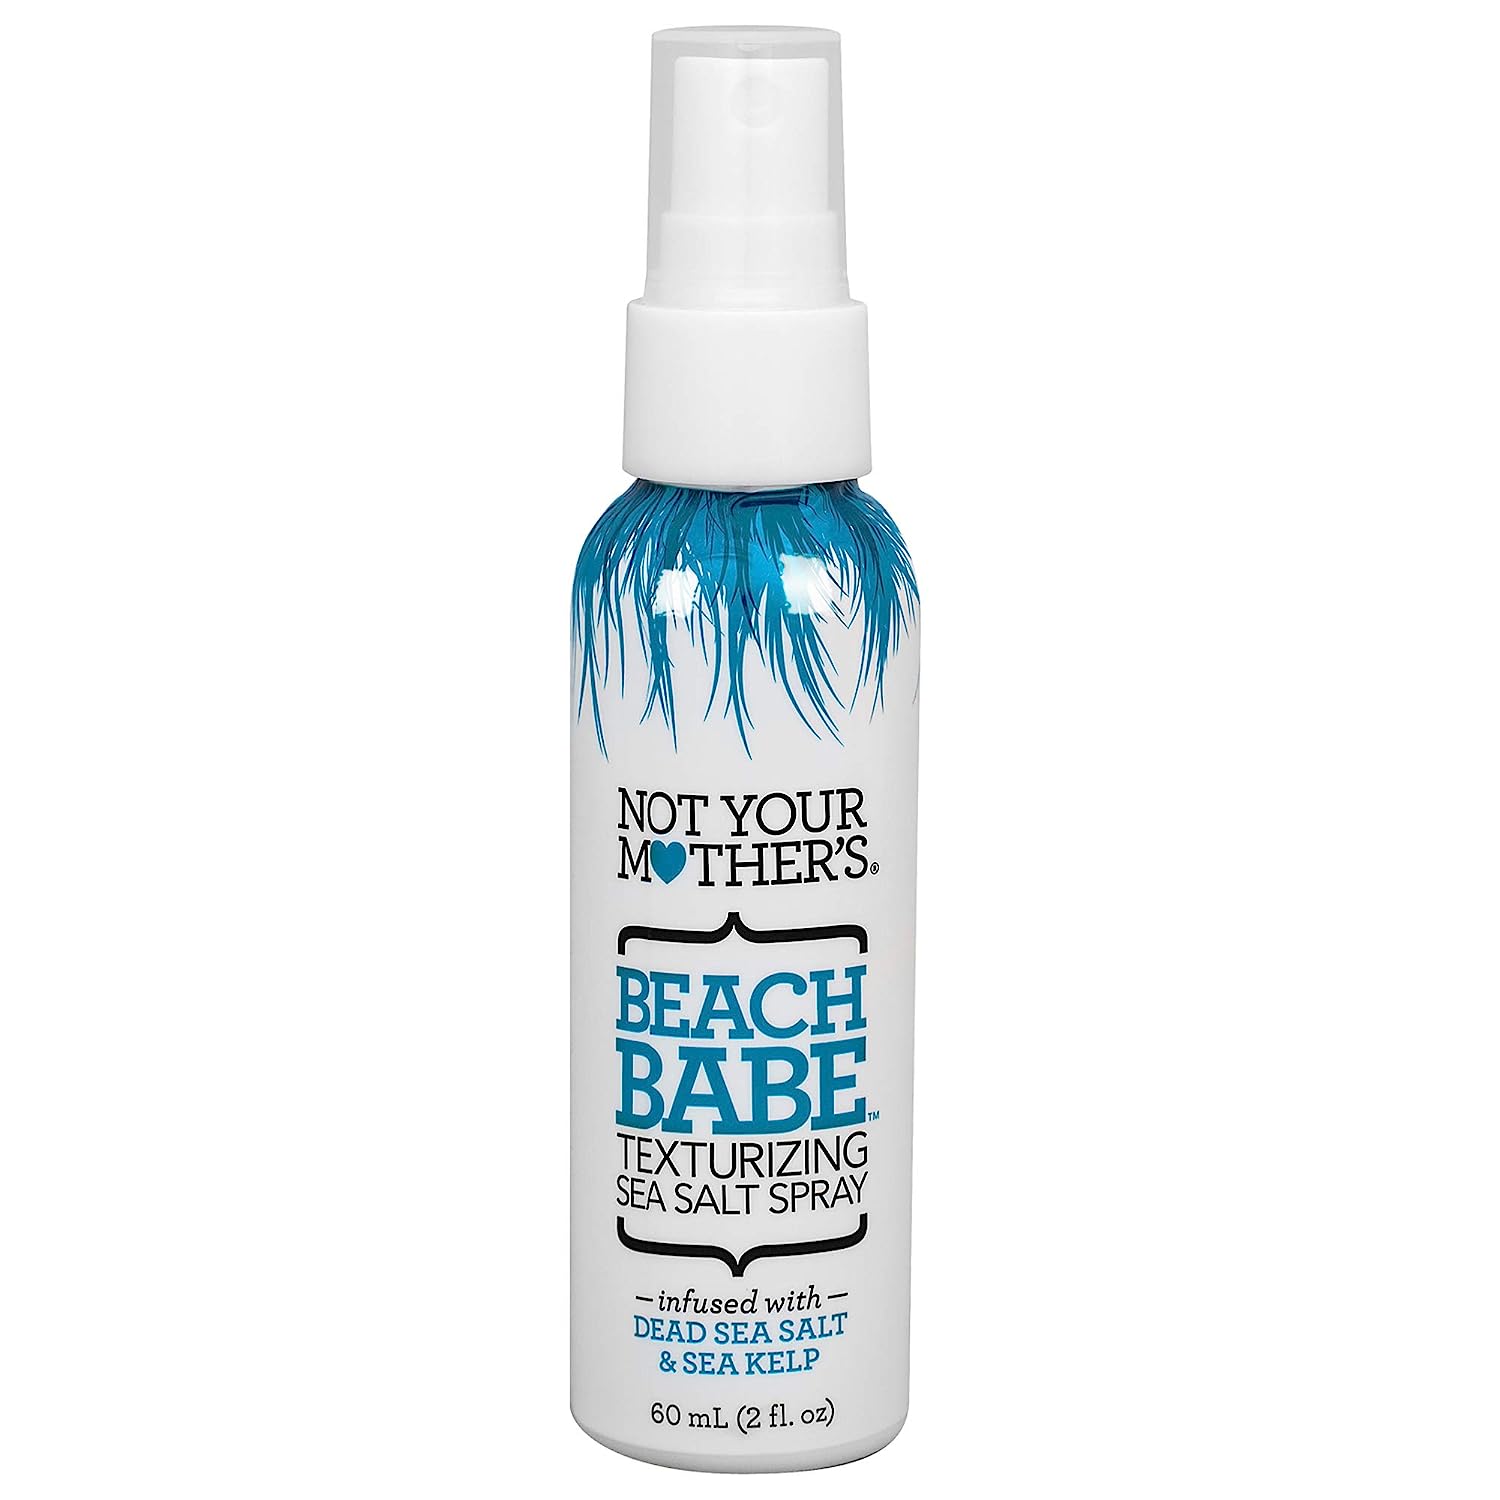
- Scent: Texturizing
- Liquid Volume: 60 Milliliters
- Item Form: Spray
- Brand: Not Your Mother’s
- Number of Items: 2
Affordable and highly efficient, it’s hard not to fall for it. Not Your Mother’s Beach Babe Texturizing Sea Salt Spray has remained a consistent favorite in summer hair essentials for a long time, and it’s not by chance. This lightweight mist, enriched with aloe vera, effortlessly delivers gentle separation and lasting volume, effectively shielding your hair from the rigors of heat damage.
8. Curlsmith Effortless Waves
Curlsmith Effortless Waves
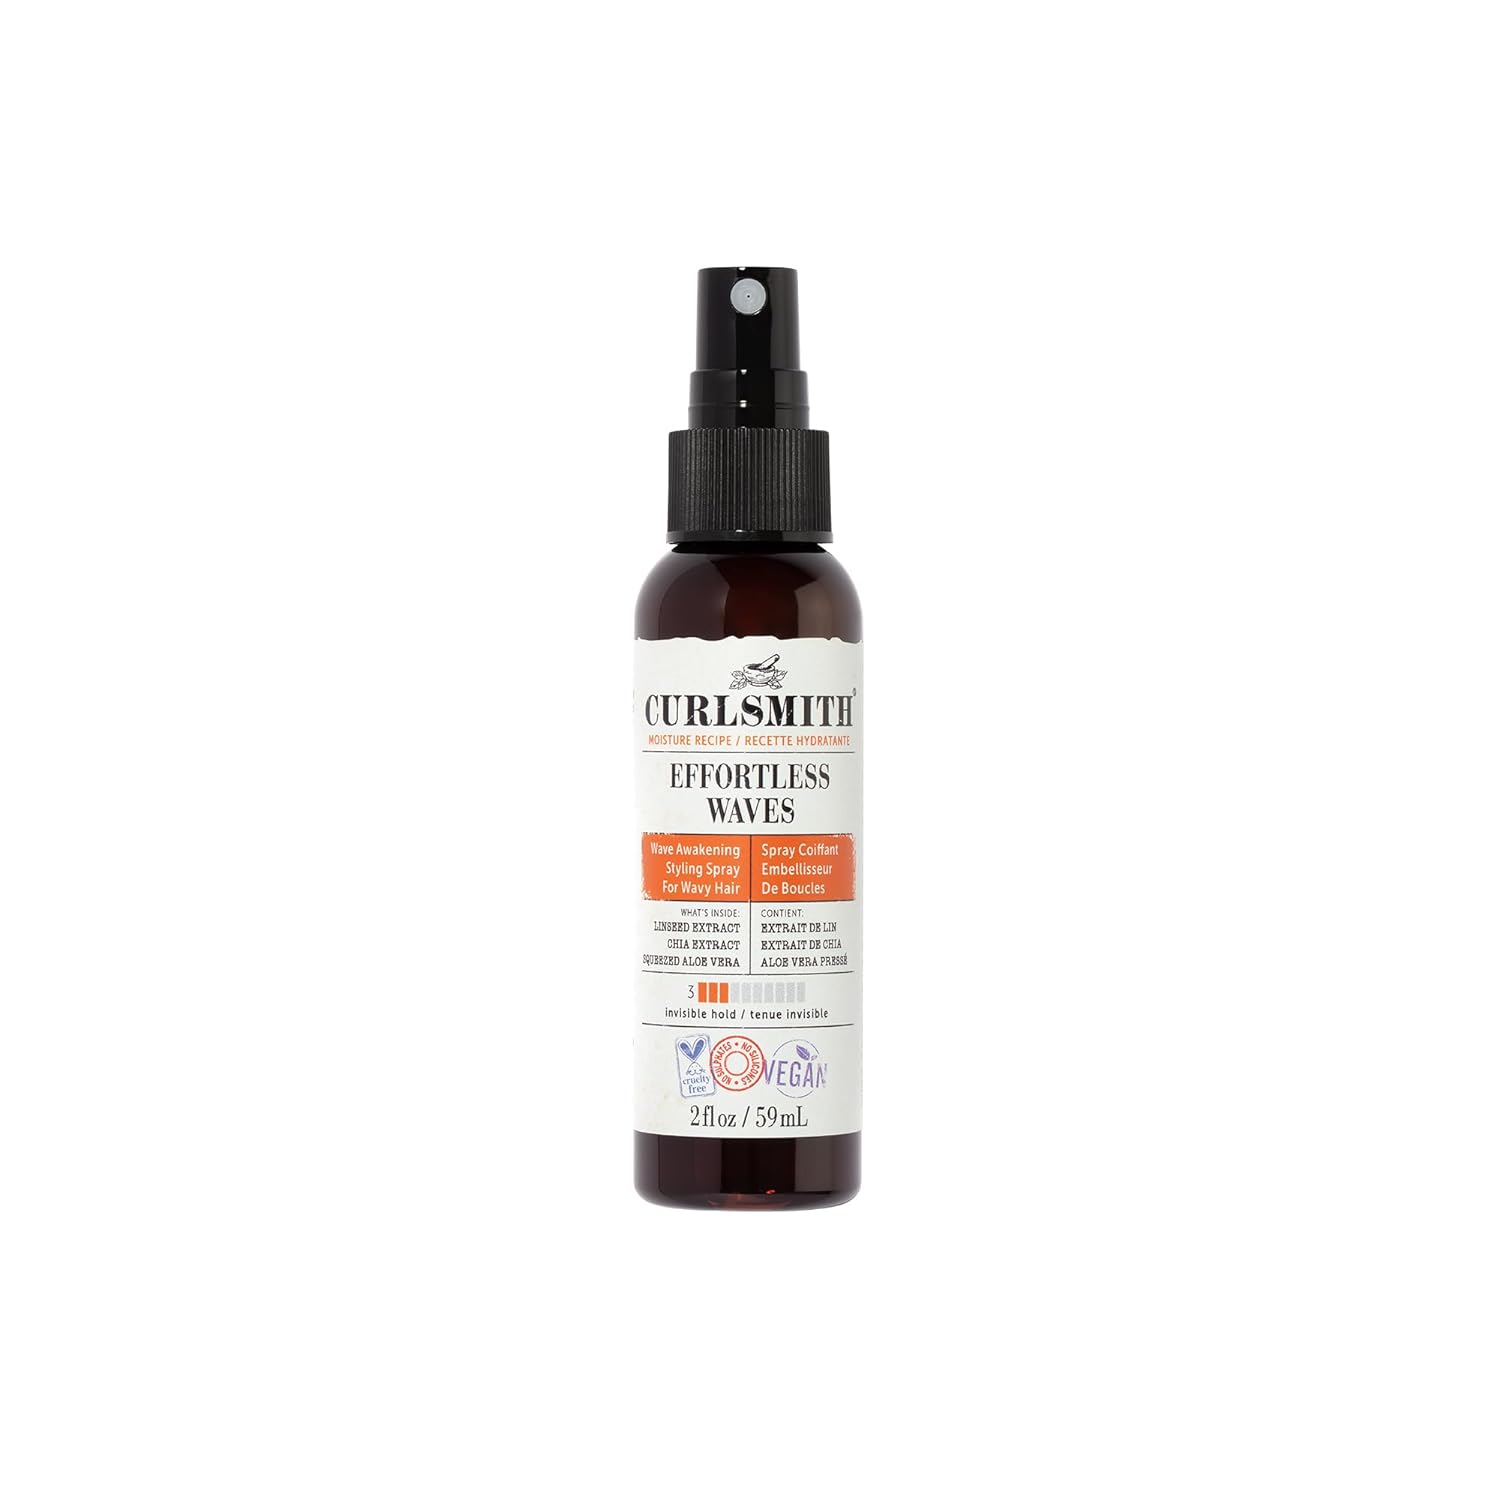
- Hair Type: All, Wavy, Dry, Curly
- Liquid Volume: 2 Fluid Ounces
- Item Form: Lotion
- Brand: CURLSMITH
- Number of Items: 1
This spray doesn’t contain salt, but those seeking nourishment might want to avoid it, as it can sometimes introduce a slightly crunchy feel. Instead, this product achieves a beachy aesthetic with the help of linseed and chia seed extracts, which impart definition and waves. It also features the resurrection flower, a desert plant renowned for surviving up to three years without water and cherished for its exceptional moisture-retention capabilities.
How long should you brush your hair for waves?
Waves or 360 waves is a stunning hairstyle in which the men’s hair seems to be in horizontal lines. The style was made famous by American rapper R Kelly. The 360s or Waves is not a haircut, but it is a style with the process involved. You need to train your hair to achieve this hairstyle by taking care of & brushing it from time to time. So, the main question involved is how long should you brush your hair for waves?
The time to brush your hair for waves is 15-30 minutes every day for two times a day, depending on your hair type. Simple, you can brush for equal times all the sides, i.e., sides, front & back.
Find Here: A Comprehensive Hair Extensions Guide For Beginners (2023)
How low should I cut my hair for waves?
You need to cut your hair at least 1.5 inches long. A length shorter than this may not be suitable & you may find it difficult to brush through this hair length. The hair length also depends on the hair texture & type.
So overall, the 1.5-inch hair length is suitable & your hair will grow from this hair length, with waves if you take proper care & maintain them.
Beginning at 1.5 inches, the longer you leave your hair to grow, the better your results will be since your wave pattern will have more time to settle.
How long should you brush your hair for 360 waves?
You should brush for between 15-30 minutes to get 360 waves. The frequency of brushing your hair is 2-3 times a day. It will be best to do the hair three times a day if you have straight hair because the straight hair will take time to come in the wave shapes.
But do not over brush, because it can strip the hair of all essential oil & can even lead to hair breakage. So you definitely don’t want to affect your hair.
The rule of 7 minutes will be best for the waves. You should brush the front, back & sides of your hair for seven minutes each. It will help hair to get equal waves at the same time. Moreover, you should use a boar bristle brush for brushing.
Can you brush your hair too much for waves?
If you brush too much, then it will definitely not help your hair to get waves. Actually, it will harm your hair & scalp. With brushing too much, the scalp will get scratched & the brush will even remove all the essentials of your hair. Moreover, it will lead to hair damage & breakage.
So brush your hair two times a day between 15-30 minutes for good waves & even healthy hair.
How to Maintain Waves?
After seeing the growth of waves, the efforts should not be stopped. The waves need consistent care & maintenance. Here are some steps which will help you to maintain your waves:
1) Continue Brushing – Brushing should not be stopped! You need to continue brushing your hair from all sides & the time duration also needs to be between 15-30 minutes.
2) Keep the waves & scalp moisturized – This is really important during & after you get waves. You need to use hair moisturizers & also shampoo & conditioner, which are soft on the hair.
3) Trim your hair – Haircuts are still an important part of the wave process. However, you should have them less regularly than you would if you didn’t have waves. You can trim your hair every 2-4 weeks.
4) Avoid frequent hair washing – Washing your hair frequently is not too great for waves. So avoid frequent hair washing. You can still rinse them in water only. Washing should only need to be done once a week, that too with a soft shampoo.
Best Tips & Hacks To Mastering Wavy Hair
- The first step to mastering wavy hair is to embrace its natural texture. Instead of over-straightening or curling, let your waves shine through. Wavy hair has a distinct charm that sets it apart, so allow it to be its own star.
- When it comes to detangling and shaping wavy hair, opt for a wide-toothed comb or simply use your fingers. Unlike brushing, which can disrupt the wave pattern and cause frizz, these methods gently work with your waves to keep them intact and defined.
- Wavy hair has a tendency to dry out, which can lead to frizz and loss of definition. Combat this by incorporating a leave-in conditioner into your routine after washing. This nourishing step helps lock in moisture and defines your natural waves beautifully.
- To accentuate your waves, adopt the scrunch-and-air-dry method. After washing, gently scrunch your wet hair with your hands to encourage the wave pattern. Avoid towel drying or heat tools, as they can disrupt the natural flow of your waves and create frizz.
- Invest in a diffuser attachment for your hairdryer. This tool disperses airflow evenly, preventing disruption of your waves while adding volume. Use the diffuser on a low heat setting and gently cup your waves as you dry them for optimal results.
- Enhance your waves’ natural beauty with a curl-enhancing product. Look for mousse, gel, or lotion formulated for wavy hair. These products help define and hold your waves without making them feel heavy or stiff.
- Upgrade your pillowcase to silk or satin to prevent friction and frizz. These materials are gentler on your hair compared to cotton, helping your waves stay intact overnight. Wake up with refreshed and bouncy waves by making this simple switch.
- On days when you’re not washing your hair, refresh your waves by misting a mixture of water and conditioner over your hair. Lightly scrunch your hair to redefine the waves and revive their natural bounce.
Bottom Line
With these 11 creative techniques, you can effortlessly transform your hair into a mesmerizing wave of beauty. Whether you prefer the simplicity of scrunching, the elegance of braiding, or the innovation of knotting, there’s a method that suits your style and hair type.
Embrace the power of hair products like sea salt spray, texturizing spray, and hairspray to enhance your results. And don’t forget to consider the time factor – some methods work their magic overnight, while others deliver wavy perfection in a matter of hours. Whether it’s for a special occasion or simply to boost your daily confidence, wavy hair is just a few twists, knots, or braids away. So, go ahead and experiment with these methods, and let your wavy hair journey begin!
FAQs
Yes, various heat-free methods, such as braiding and twisting, can create beautiful waves without using hot styling tools.
Heat-free waves can last several hours to a day, depending on your hair type, the method used, and how well the waves are set.
Yes, ingredients like sea salt or aloe vera can enhance natural waves. Sea salt sprays provide texture, while aloe vera adds moisture and definition.

