
Embarking on the journey of achieving salon-worthy nails at home has never been more exciting, and gel nails are the perfect avenue for beginners. Welcome to “Gel Nails: A Complete Guide For Beginners,” where we unravel the secrets to mastering the art of gel manicures. In this comprehensive blog, we’ll walk you through the fascinating world of gel nails—from understanding the application process to choosing the right kit and exploring trendy designs. Discover the benefits of gel nails, learn maintenance tips, and gain insights from expert nail technicians.
Whether you’re a novice or someone looking to elevate your at-home manicure game, this guide is tailored just for you. Say goodbye to frequent touch-ups and hello to enduring, flawless nails. Let’s dive into the exciting realm of gel nails and unlock the key to achieving salon-quality results in the comfort of your own home.
What Are Gel Nails?
Gel nails represent a revolutionary approach to achieving impeccable manicures with lasting results. Unlike traditional nail polish, gel nails involve a specialized application process that transforms the liquid gel into a solid, glossy finish. This process occurs through curing the gel under ultraviolet (UV) or LED lights, ensuring a quick and efficient drying process.
The key component of gel nails is the gel itself, a substance that hardens when exposed to the UV or LED light, resulting in a durable and chip-resistant manicure. Gel nails offer a level of longevity that surpasses traditional polish, making them a preferred choice for those seeking enduring beauty.
What sets gel nails apart is not only their longevity but also the added strength and durability they provide to the natural nail. This makes gel nails an attractive option for individuals who want a flawless, long-lasting manicure without the worry of frequent touch-ups or chipping.
Benefits of Gel Nails
Gel nails come with a myriad of benefits, making them a popular choice among individuals seeking a flawless and long-lasting manicure experience.
- Extended Longevity: One of the primary advantages of gel nails is their impressive staying power. Unlike traditional nail polish, gel nails can last for weeks without chipping, ensuring your manicure remains vibrant and intact for an extended period.
- Added Strength and Durability: Gel nails provide an extra layer of strength to your natural nails, reducing the risk of breakage. This added durability means you can enjoy beautiful nails without constantly worrying about potential damage.
- Reduced Chipping and Peeling: Traditional nail polish often succumbs to daily wear and tear, resulting in unsightly chips and peeling. Gel nails, on the other hand, maintain their integrity, offering a consistently polished appearance for an extended duration.
- Quick and Efficient Drying Process: The curing process under UV or LED lights ensures that gel nails dry rapidly. This efficiency not only saves time during the application but also minimizes the risk of smudging or accidental damage to the freshly painted nails.
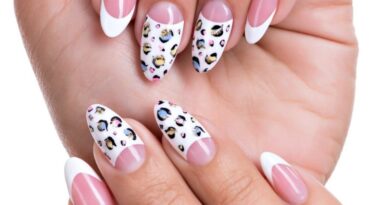
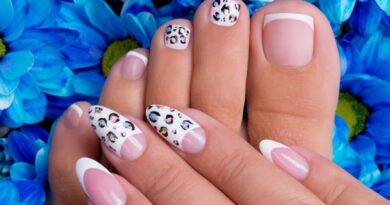
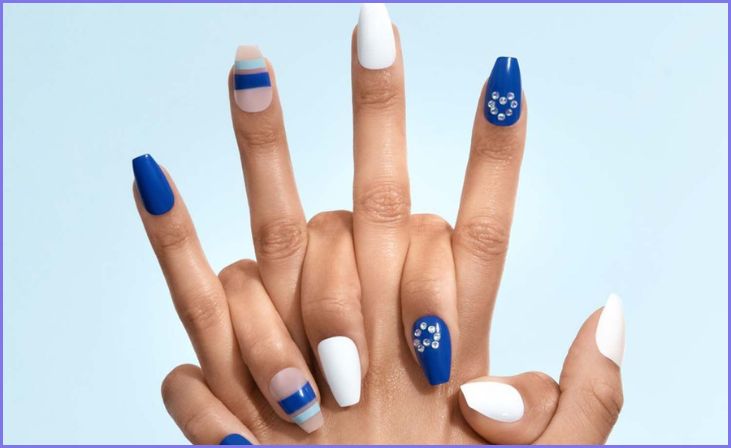
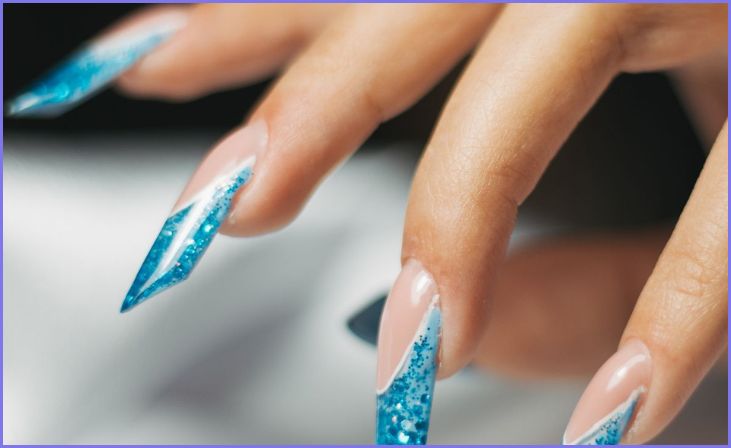
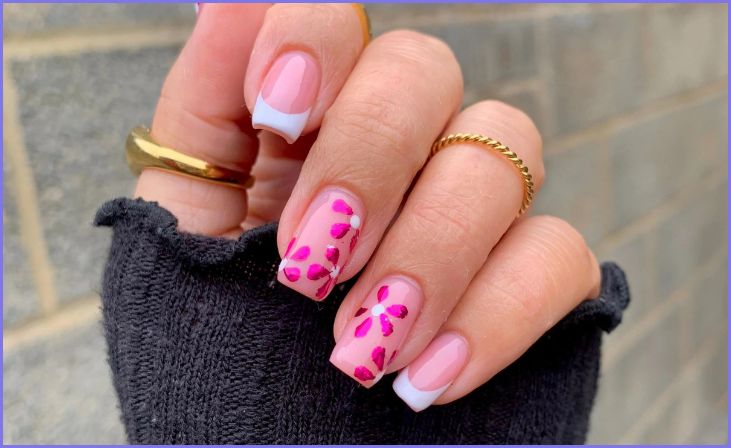
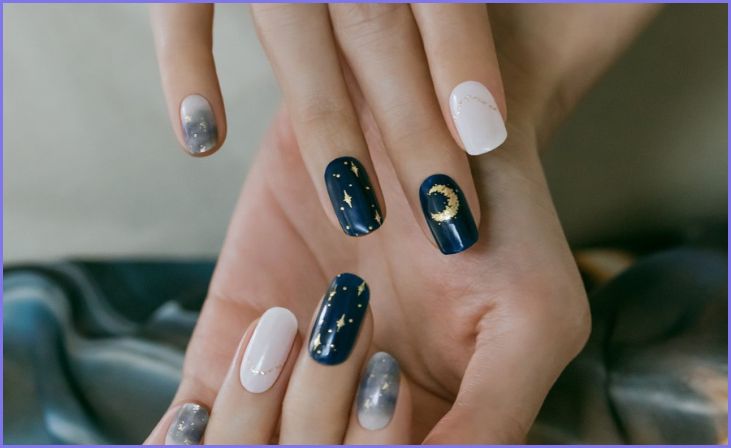
- Versatile Nail Designs: Gel nails provide a versatile canvas for creative and intricate nail designs. Whether you prefer classic styles or want to experiment with trendy patterns, gel nails can accommodate a wide range of artistic expressions.
Also Read- What nail shape looks best on short chubby fingers?
Types of Gel Nails
Gel nails come in various types, each offering unique characteristics and catering to different preferences. Understanding the distinctions between these types is essential for choosing the gel nails that align with your desired look and application preferences. Here are the primary types of gel nails:
- UV Gel Nails:
- Characteristics: UV gel nails utilize ultraviolet light for curing. They are known for their glossy finish and natural appearance.
- Application: Applied in layers, each layer is cured under a UV lamp, resulting in a durable and flexible manicure.
- LED Gel Nails:
- Characteristics: Similar to UV gel nails but with a faster curing process using LED lights. They offer quick drying times and vibrant colors.
- Application: LED lamps cure the gel layers efficiently, making this type a time-saving option for those seeking a speedy application.
- Hybrid Gel Nails:
- Characteristics: A combination of gel and traditional nail polish, offering the best of both worlds.
- Application: The hybrid formula is applied like gel but can be removed easily with regular polish remover, providing versatility for those who enjoy frequent changes.
Choosing the Right Gel Nail Kit
Selecting the right gel nail kit is crucial for achieving salon-quality results at home. With a myriad of options available, it’s essential to consider several factors to ensure you get a kit that meets your needs. Here’s a comprehensive guide on choosing the right gel nail kit:
Gel Type
The type of gel used in nail kits plays a pivotal role in achieving the desired manicure. There are primarily three types of gel nails: UV Gel Nails, LED Gel Nails, and Hybrid Gel Nails. UV Gel Nails involve a curing process under ultraviolet light, resulting in a glossy finish and natural appearance. LED Gel Nails follow a similar process but with a quicker curing time, making them a time-efficient option.
Hybrid Gel Nails combine elements of both traditional nail polish and gel, offering the flexibility of easy removal with regular polish remover. The choice among these gel types depends on personal preference, desired outcomes, and the convenience of the curing method. Exploring the characteristics of each type enables individuals to choose the gel nails that align best with their preferences and lifestyle.
Accessories Included
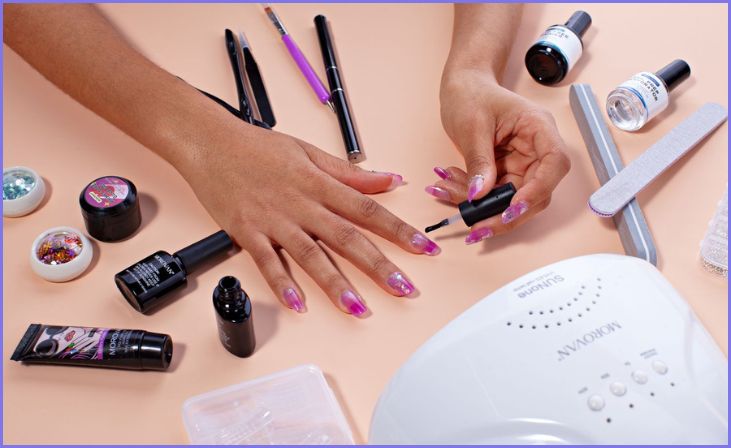
Selecting the right gel nail kit involves considering the accessories included, as they play a crucial role in achieving a successful and polished manicure. A comprehensive kit should provide essential tools such as a UV or LED lamp for curing, base and topcoats for preparation and sealing, nail files and buffers for shaping, cuticle pushers and nippers for maintaining cuticle health, application brushes for precise design, and nail cleansers and removers for cleaning and safe removal.
Additionally, lint-free wipes are essential for a smooth application process, and kits may include nail tips or forms for those looking to extend their natural nails. A well-equipped kit with these accessories ensures a professional and satisfying at-home gel nail experience, offering convenience and quality in one package.
Brand Reputation
Considering the brand reputation is a pivotal factor when selecting a gel nail kit, as it directly influences the quality and satisfaction of your manicure experience. Reputable brands have earned recognition through consistent delivery of high-quality products, garnering positive reviews and trust among consumers. Brands like [mention top brands] are known for their commitment to excellence in nail care. By opting for a kit from a well-regarded brand, you’re more likely to receive a product with superior components, effective formulas, and reliable accessories.
Researching customer reviews and testimonials can provide valuable insights into the brand’s performance and the satisfaction of other users. Investing in a gel nail kit from a reputable brand ensures not only a more enjoyable application process but also a longer-lasting and visually appealing manicure.
Formula Quality
The quality of the gel formula is a paramount consideration when choosing a gel nail kit, as it directly impacts the longevity and overall appearance of your manicure. A high-quality gel formula should exhibit several key characteristics. Firstly, it should be easy to apply, allowing for smooth and even coverage without streaks or clumps. Additionally, the formula should offer a good consistency, striking the right balance between thickness and fluidity. This ensures optimal adherence to the nail surface and contributes to a flawless finish.
Moreover, a top-tier gel formula is resistant to chipping and peeling, providing a durable and long-lasting manicure. Researching and selecting kits with formulas from reputable brands or those with positive customer reviews is essential for ensuring that the gel’s quality aligns with your expectations, resulting in a pro
Color Range
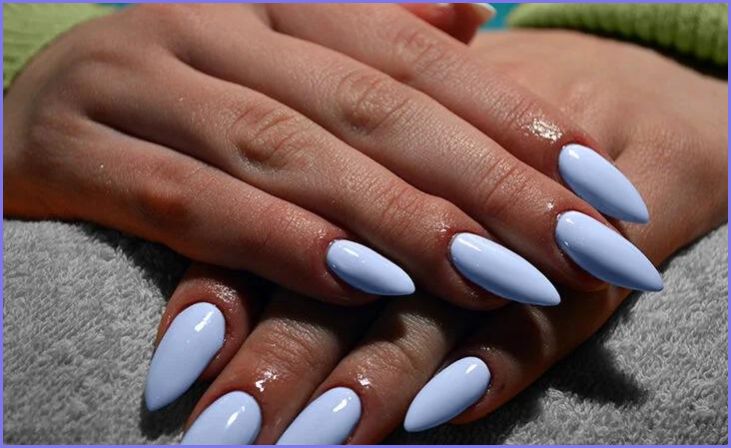
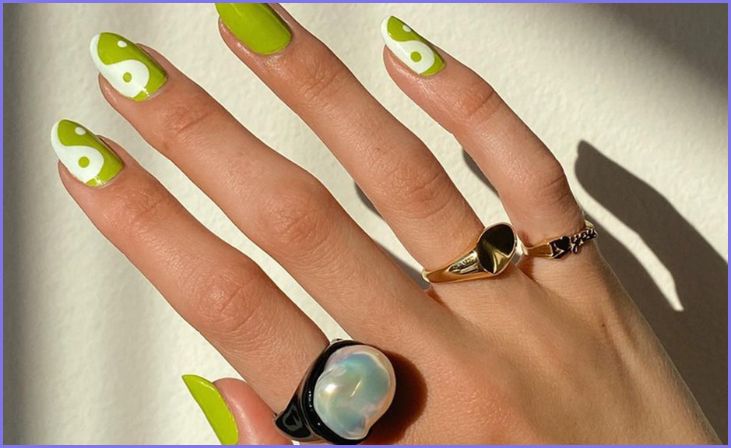
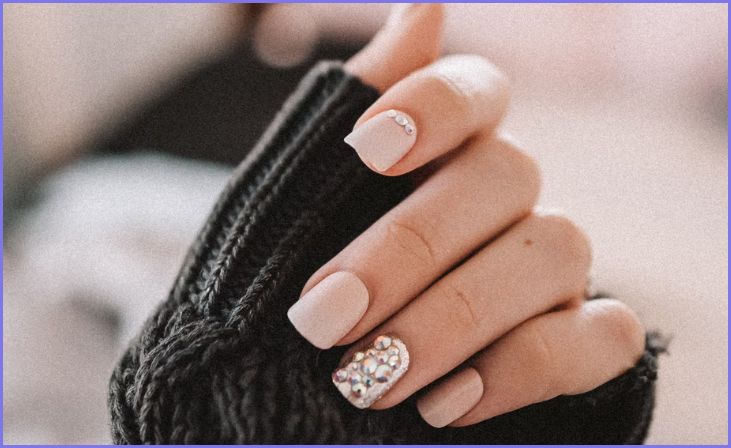
Considering the color range is a vital aspect when choosing a gel nail kit, offering a diverse palette for personal expression and style. A comprehensive kit should include a broad spectrum of gel shades, ranging from classic neutrals to vibrant hues and trendy colors. The color range allows individuals to experiment with various looks, from timeless and subtle to bold and adventurous. Kits that offer versatility in color options provide users with the creative freedom to match their nails to different occasions, moods, or seasons.
Whether you prefer understated elegance or eye-catching designs, a gel nail kit with an expansive color range ensures that you have the tools to express your unique style and keep your manicures fresh and exciting. Before making a purchase, explore the color options available in the kit to ensure they align with your preferences and allow for endless creativity in your nail designs.
Curing Time
Curing time is a crucial consideration when choosing a gel nail kit, as it directly influences the efficiency and convenience of the application process. Curing refers to the time it takes for the gel to harden and set under UV or LED lights, transforming it from a liquid to a solid state. Different kits may offer varying curing times, and this aspect is particularly important for those seeking a time-efficient option.
Some kits feature a faster curing time, which can be advantageous for individuals with busy schedules or those looking for a quick at-home manicure. The efficiency of the curing process not only saves time but also minimizes the risk of smudging or accidental damage to the freshly applied gel.
User-Friendly Instructions
The presence of user-friendly instructions is a crucial aspect when choosing a gel nail kit, ensuring a smooth and successful application process, especially for beginners. Clear and concise instructions guide users through each step, from nail preparation to the final curing process. These instructions typically include details on how to apply the gel layers, use the curing lamp, and maintain the manicure for optimal results.
For beginners, easy-to-follow instructions are essential for building confidence and achieving professional-looking results at home. Look for kits that provide step-by-step guidance, accompanied by visuals or diagrams to enhance clarity. Understanding the application process and potential pitfalls helps users avoid common mistakes, contributing to a more satisfying and enjoyable experience.
Steps to Apply Gel Nails at Home
Achieving salon-quality gel nails at home is an exciting venture, especially for beginners. Follow these step-by-step instructions to ensure a successful application process:
Step 1: Prepare Your Nails
Preparing your nails is a crucial first step in achieving flawless gel nails at home. Begin by removing any existing nail polish and shaping your nails to your preferred length and shape. Gently push back the cuticles using a cuticle pusher to create a clean and well-defined nail canvas. Once your nails are polished and shaped, wash your hands thoroughly to remove oils and residues. To ensure optimal adhesion for the gel, use a nail cleanser or rubbing alcohol to clean the nail surface. This initial preparation sets the foundation for a successful gel manicure, providing a smooth and clean surface for the subsequent application of base coat and color.
Step 2: Clean Your Nails
In the second step of achieving perfect gel nails at home, it’s essential to thoroughly clean your nails. After shaping and preparing your nails, washing your hands helps remove any remaining debris or oils. Following the hand wash, use a nail cleanser or rubbing alcohol to clean the nail surface meticulously. This step is crucial as it eliminates any residual oils or impurities, ensuring optimal adhesion for the subsequent layers of the gel manicure. Clean, oil-free nails provide the ideal canvas for the application of the base coat, allowing for a smooth and long-lasting gel nail finish. Taking the time to clean your nails properly sets the stage for a successful and professional-looking at-home gel manicure.
Step 3: Apply Base Coat
In the third step of achieving salon-quality gel nails at home, the application of the base coat is key. Once your nails are shaped and cleaned, apply a thin layer of the base coat to each nail, ensuring complete coverage. The base coat not only creates a smooth foundation for the gel color but also enhances adhesion, contributing to the longevity of your manicure. Take care to cap the edges of your nails for comprehensive coverage. Following the application, place your nails under the UV or LED lamp for the specified curing time according to the gel kit instructions. This crucial step solidifies the base coat and prepares your nails for the subsequent layers of color, setting the stage for a polished and enduring gel manicure.
Step 4: Cure Under UV/LED Lamp
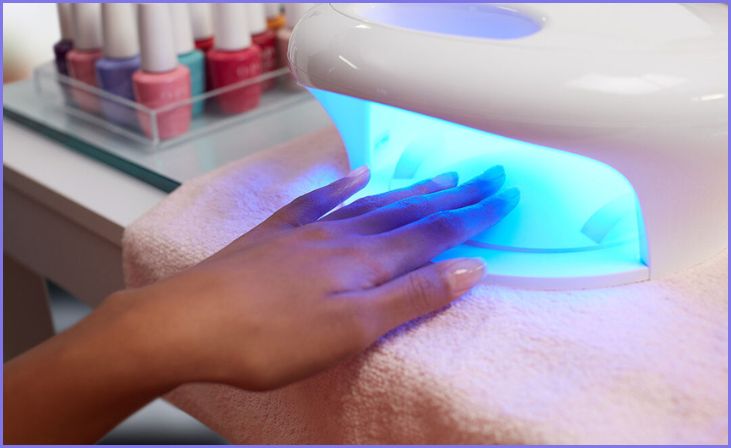
In the fourth step of achieving stunning gel nails at home, it’s time to cure the base coat under a UV or LED lamp. After applying the base coat, place your nails under the designated lamp for the specified curing time, as outlined in the gel kit instructions. This process is crucial as it solidifies and sets the base coat, ensuring a durable and long-lasting foundation for the upcoming layers of gel color. The UV or LED lamp initiates a curing reaction, transforming the gel from a liquid to a solid state. Take care to follow the recommended curing time meticulously to guarantee optimal results. This step prepares your nails for the subsequent application of gel color, contributing to the overall success of your at-home gel manicure.
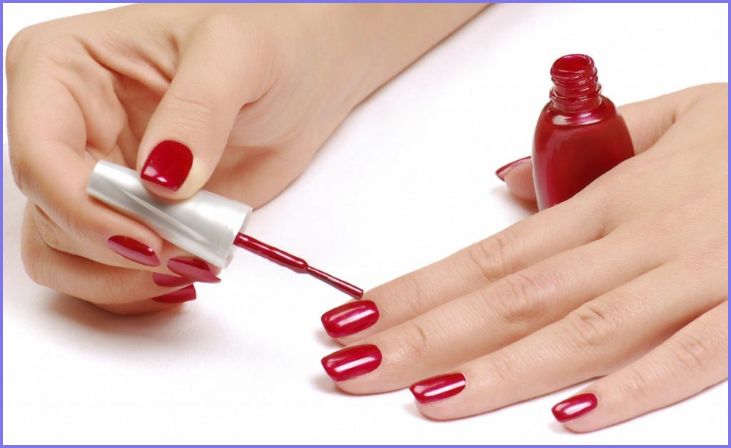
Step 5: Apply Gel Color
As you embark on the fifth step of crafting beautiful gel nails at home, it’s time to apply the gel color of your choice. After curing the base coat under the UV or LED lamp, carefully apply a thin layer of your selected gel color to each nail. Ensure even coverage, avoiding contact with the cuticles or surrounding skin. Precision in application contributes to a polished and professional result. Once the gel color is applied, return your nails under the UV or LED lamp for the specified curing time, as instructed by the gel kit. This essential step not only sets the color but also ensures a vibrant and enduring finish. Repeat the process if desired for additional layers, followed by curing, until you achieve the desired intensity. The application of gel color brings your manicure to life, adding a person
Step 6: Repeat for Additional Layers (Optional)
In the sixth step of creating your perfect gel nails at home, you have the option to enhance the vibrancy of your manicure by repeating the application process for additional layers. After applying the initial layer of gel color and curing it under the UV or LED lamp, assess the intensity of the color. If you desire a richer or more opaque finish, you can apply another thin layer of gel color and, once again, cure it under the lamp for the recommended time. Repeat this process until you achieve the desired hue and depth. Keep in mind that adding extra layers is optional and depends on your personal preference for color intensity. Each additional layer should be cured thoroughly to ensure a solid and enduring finish. This step provides flexibility for those seeking a customized and bold look for their at-home gel manicure.
For More- 2023 Beginner Nail Art Trends: Explore Creative and Fun Designs
Step 7: Apply Top coat
As you progress to the seventh step in achieving professional-grade gel nails at home, it’s time to apply the topcoat. After completing the desired layers of gel color and curing each under the UV or LED lamp, delicately apply a thin layer of the topcoat to seal and protect your manicure. The topcoat not only enhances the color’s shine but also provides an extra layer of durability, contributing to the longevity of your gel nails. Ensure even coverage and precision in application to achieve a polished and flawless finish. Following the application, return your nails under the UV or LED lamp for the final curing process as per the gel kit instructions. This step completes your at-home gel manicure, leaving you with a resilient, glossy, and professionally finished result.
Step 8: Clean Residue
In the eighth and final step of creating impeccable gel nails at home, it’s essential to clean any residual stickiness left on your nails after the final curing process. Utilize a lint-free wipe and a nail cleanser to gently wipe away any tacky residue, ensuring a smooth and flawless finish. This step not only enhances the appearance of your gel nails but also contributes to the overall cleanliness and professionalism of the manicure. Take care to clean each nail thoroughly, removing any lingering residue from the topcoat curing process. Once this step is complete, you can admire your beautifully crafted, long-lasting gel nails, ready to showcase your personalized style with confidence and flair.
Maintaining Gel Nails
Maintaining gel nails is essential for preserving their longevity and keeping them in optimal condition. Here are some tips to ensure your gel manicure stays vibrant and chip-free:
Be Mindful of Your Nails
Being mindful of your nails is essential for maintaining the longevity and appearance of your gel manicure. Avoid using your nails for tasks that could cause stress or damage, such as opening packages. Treat your nails gently to prevent chipping or breakage. Additionally, protect your nails during household chores or activities involving chemicals by wearing gloves. This simple practice can go a long way in preserving the vibrancy and structural integrity of your gel nails, ensuring they stay beautiful and durable for an extended period.
Moisturize Cuticles
Moisturizing your cuticles is a crucial step in maintaining the health and aesthetic appeal of your gel nails. Applying cuticle oil regularly keeps the cuticles hydrated, preventing them from becoming dry or cracked. Well-moisturized cuticles not only contribute to the overall health of your nails but also enhance the appearance of your gel manicure. This simple practice supports the longevity of your nails and adds a touch of elegance to your at-home nail care routine.
Use Gloves for Household Chores
Using gloves for household chores is a practical and effective way to protect your gel nails. Whether you’re washing dishes, cleaning, or handling chemicals, wearing gloves shields your nails from potential damage. Household tasks often expose nails to water, cleaning agents, and other abrasive substances, which can compromise the integrity of a gel manicure. By incorporating gloves into your routine, you create a barrier that safeguards your nails, preserving their vibrant color and structural strength. This simple practice ensures that your gel nails remain resilient and beautiful, even in the face of everyday tasks.
Regularly Apply Topcoat

Regularly applying a topcoat is a key element in maintaining the longevity and vibrancy of your gel nails. The topcoat serves as a protective layer, sealing in the color and adding an extra level of durability to your manicure. By reapplying a clear topcoat every two weeks, you not only refresh the shine of your gel nails but also extend their overall lifespan. This simple step helps guard against wear and tear, preventing chipping and ensuring that your manicure stays glossy and polished. Embracing this routine enhances the resilience of your gel nails, keeping them looking as fresh as the day you applied them.
Avoid Harsh Chemicals
Avoiding harsh chemicals is crucial for maintaining the integrity and appearance of your gel nails. Substances like acetone, commonly found in some nail polish removers, can weaken the gel and lead to lifting or peeling. Opt for acetone-free nail polish removers to protect the quality of your manicure. Additionally, be cautious when using household cleaning products or engaging in activities that involve exposure to chemicals. Whenever possible, choose gentler alternatives or wear gloves to shield your gel nails. This mindful approach to chemical exposure helps preserve the longevity and vibrancy of your manicure, ensuring that your gel nails stay beautiful and resilient over time.
Final Words
In conclusion, diving into the world of gel nails is a rewarding journey, especially for beginners seeking a salon-quality manicure from the comfort of home. Through this comprehensive guide, we’ve explored the step-by-step process of achieving impeccable gel nails, from preparation to maintenance. The versatility, durability, and aesthetic possibilities that gel nails offer make them an excellent choice for those looking to elevate their nail care routine.
Remember, mastering the art of gel nails takes practice, but with each application, you’ll gain confidence and finesse. Whether you opt for classic hues, trendy designs, or experiment with layering, the world of gel nails is yours to explore.
FAQs
Absolutely! Our step-by-step guide makes it easy for beginners to achieve professional-looking gel nails at home.
Gel nails can last for weeks without chipping, providing a long-lasting and durable manicure.
Yes, it’s safe to remove gel nails at home following our step-by-step guide. Using the right products ensures a damage-free process.
We’ll explore budget-friendly alternatives to help you enjoy the beauty of gel nails without a hefty price tag.