How to Clean Your Dog’s Ears – The cleanliness of your dog’s ears is paramount for their overall health and well-being. Regular ear cleaning helps prevent infections, discomfort, and potential hearing issues. In this guide, we’ll walk you through the essential steps to clean your dog’s ears safely and effectively.
By maintaining a clean and healthy ear environment, you not only contribute to your dog’s physical comfort but also strengthen the bond between you and your furry friend.
With a minimal investment of time and the right supplies, you can make ear cleaning a positive and routine aspect of your pet care regimen. Let’s ensure your dog’s ears stay as happy and healthy as the rest of them!
Importance of ear cleanliness in dogs
The importance of maintaining clean ears in dogs extends beyond mere hygiene; it is a fundamental aspect of their overall health and well-being. Dog ears, with their unique anatomy, are susceptible to dirt, wax buildup, and potential infections. Regular cleaning helps prevent these issues and contributes to optimal ear function.
Ear cleanliness is crucial in avoiding common problems such as ear infections, which can cause pain and discomfort for your pet. Excessive wax or debris accumulation may obstruct the ear canal, affecting hearing and balance. Furthermore, unclean ears create an environment conducive to the growth of bacteria and yeast, leading to infections that may escalate if left untreated.
By incorporating routine ear cleaning into your pet care regimen, you not only enhance their physical comfort but also demonstrate a commitment to their health. Maintaining clean ears fosters a positive relationship between you and your dog, ensuring they lead happy, healthy lives free from unnecessary discomfort.
Also, Read – Dog Breeds with Unique Tail Characteristics
How to Clean Your Dog’s Ears
Gather Supplies
For cleaning your dog’s ears, gather the essentials: a dog ear cleaning solution, available at pet stores or recommended by your vet, cotton balls or gauze pads, and towels or tissues for cleanup. Ensure a stress-free experience for your dog with treats for positive reinforcement.
Choose a calm time to inspect your dog’s ears, checking for redness or discharge. When ready, apply the cleaning solution, massage the base of the ears, and allow your dog to shake its head. Gently wipe away visible debris with cotton balls. Repeat on the other ear if comfortable. Reward your pup and establish a regular cleaning routine.
Choose the Right Time
Select a serene time for your dog’s ear cleaning, minimizing distractions. Opt for moments when your dog is naturally calm and relaxed. Avoid busy or high-energy periods to ensure cooperation. Create a quiet, comfortable environment, enhancing the likelihood of a positive experience for your furry friend.
Familiarize yourself with your dog’s daily routine, choosing a time when they are typically at ease. This strategic timing contributes to a smoother and more cooperative ear cleaning session, fostering a positive association with the process for your dog.
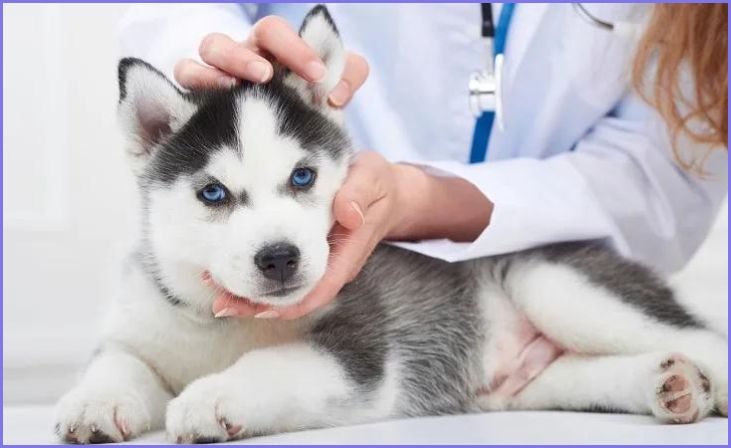
Inspect the Ears
Begin by inspecting your dog’s ears for any signs of irregularities. Check for redness, swelling, or abnormal discharge. A healthy ear should have a pale pink color without excessive wax or debris. If you notice any unusual odors or your dog displays discomfort when you touch their ears, it’s crucial to consult your veterinarian before proceeding with cleaning. Identifying potential issues early on can prevent complications and ensure proper care.
Regular inspections help maintain your dog’s ear health and allow for timely intervention if any problems arise. Always prioritize your pet’s well-being and seek professional advice if you have concerns.
Prepare Your Dog
Prepare your dog for ear cleaning by creating a calm and positive atmosphere. Begin with gentle petting and massaging around the ears to acclimate them to touch. Offer treats and verbal praise to associate the experience with positivity. Use a soft, reassuring tone to keep your dog relaxed. If your pet seems anxious, pause and provide additional comfort before proceeding.
Ensure you have all necessary supplies within reach to maintain a smooth process. By establishing a comfortable and reassuring environment, you help your dog feel at ease, making the ear cleaning process more enjoyable for both you and your furry companion.
Also, Read – Dog-Friendly Camping Spots
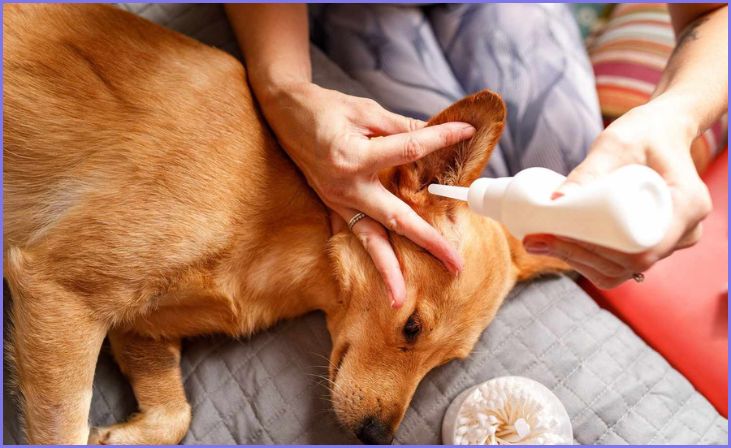
Apply the Ear Cleaning Solution
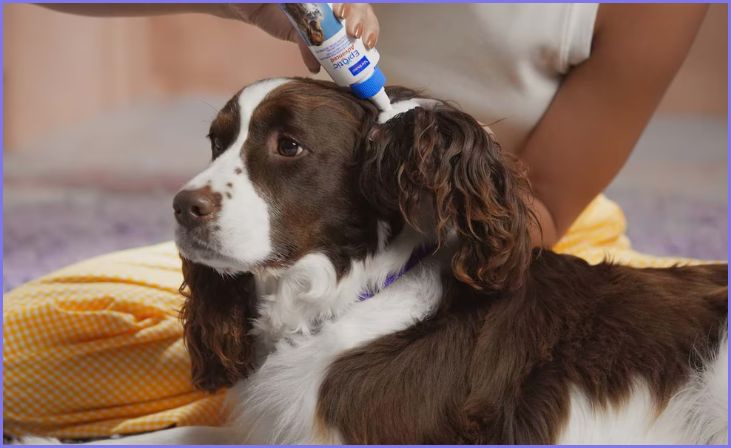
With your dog in a comfortable position, lift the ear flap and carefully apply the recommended ear cleaning solution. Follow the product guidelines for the correct amount. Gently squeeze the solution into the ear canal, allowing it to reach the base. Hold the ear flap in place and massage the base of the ear for 20-30 seconds. This helps distribute the solution and loosens debris.
Allow your dog a moment to shake its head, facilitating the removal of excess solution and dislodged dirt. Ensure a gentle and controlled application, avoiding sudden movements that may startle your pet. This step is crucial for effective ear cleaning without causing discomfort.
Allow Your Dog to Shake Its Head
After applying the ear cleaning solution, give your dog a moment to shake its head. This natural behavior helps dislodge loosened debris and excess cleaning solution from the ear canal. Be prepared for some splattering, and keep a towel handy to catch any stray drops. Allowing your dog to shake its head aids in the overall cleaning process and contributes to their comfort.
Stay patient and reassure your pet during this step to maintain a positive association with ear cleaning. After shaking, proceed to gently wipe the visible debris from the ear flap and inner ear using cotton balls or gauze pads.
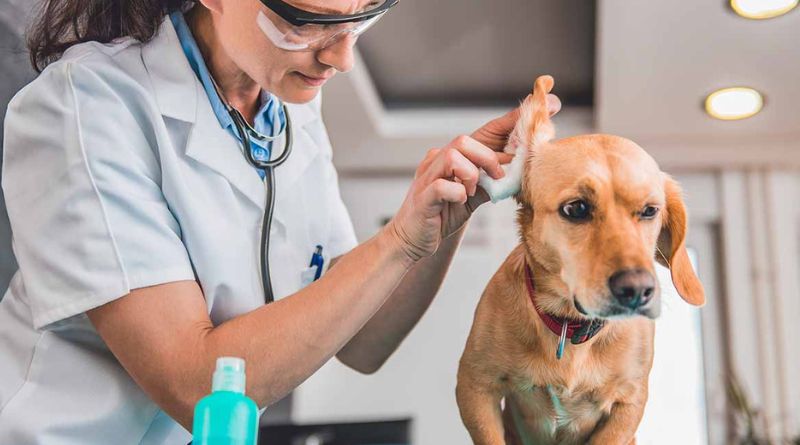
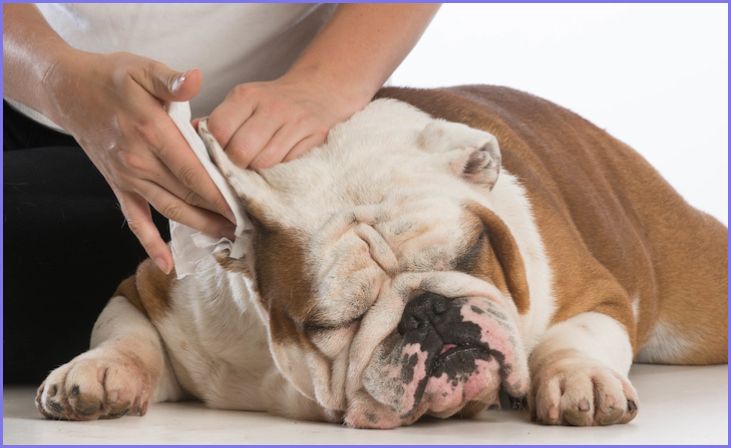
Wipe the Ear Exterior
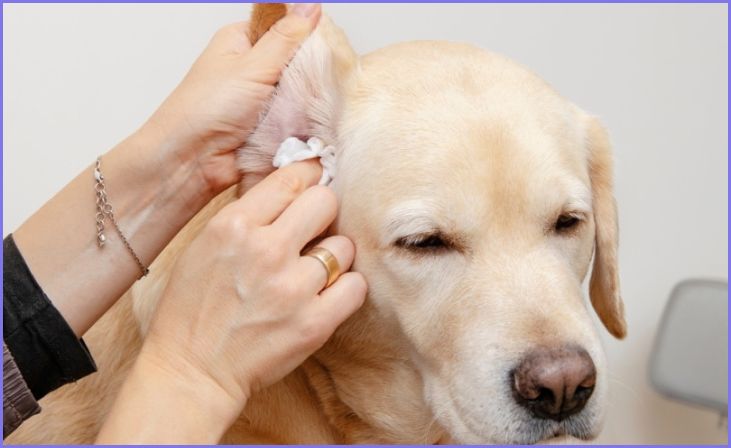
Using a cotton ball or gauze pad, gently wipe the visible debris from the ear exterior. Be careful not to insert anything deep into the ear canal. Wipe the inner folds of the ear flap and the visible parts of the ear. Use a new cotton ball or pad for each wipe to avoid spreading dirt or bacteria.
If your dog has long ears, lift them carefully to access the hidden areas. Take your time and be gentle to prevent any discomfort. This step completes the cleaning process by ensuring the outer ear is free from dirt and excess cleaning solution.
Repeat on the Other Ear
If your dog is comfortable, repeat the ear cleaning process on the other ear using the same gentle steps. Maintain a calm and reassuring demeanor to promote cooperation. Lift the ear flap, apply the recommended amount of ear cleaning solution, massage the base of the ear, and allow your dog to shake its head.
Use fresh cotton balls or gauze pads to wipe away debris from the ear exterior. Pay attention to any differences between the ears, such as redness or swelling, and consult your veterinarian if you notice anything unusual. Consistency in cleaning both ears helps ensure overall ear health for your pet.
Reward Your Dog
Reward your dog after the ear cleaning session to reinforce positive behavior. Offer treats, praise, and gentle affection to create a positive association with the experience. This encourages cooperation during future cleanings. Timing is crucial; provide the reward immediately after completing the process. Use a happy and upbeat tone to convey your satisfaction with your dog’s behavior.
Consistent positive reinforcement makes the entire ear cleaning routine more enjoyable for your pet and strengthens the bond between you and your furry friend. This positive association helps reduce anxiety and makes future ear cleanings smoother.
Establish a Routine
Establish a regular ear cleaning routine to maintain your dog’s ear health. The frequency may vary depending on your dog’s breed and individual needs, so consult your veterinarian for guidance. Choose a specific time and day for consistency. Make the routine enjoyable with treats and positive reinforcement. Gradually increase the intervals between cleanings as your dog becomes more accustomed to the process.
Regular cleaning helps prevent infections and ensures early detection of any issues. By incorporating ear cleaning into your overall grooming routine, you contribute to your dog’s well-being and strengthen the trust between you and your furry companion.
Conclusion
In conclusion, regular ear cleaning is a simple yet vital practice for your dog’s well-being. By preventing infections and discomfort, you contribute to their overall health and happiness. Establishing a positive routine not only enhances their physical comfort but also strengthens the bond between you and your furry companion. So, make ear cleaning a consistent part of your care regimen – a small effort that goes a long way in ensuring your dog enjoys a life free from unnecessary ear-related issues.
FAQs
It’s best to avoid regular cotton swabs as they can push debris deeper into the ear canal. Stick to using cotton balls or pads for a safer cleaning process.
Foul odors may indicate an infection. Consult your veterinarian for guidance, as they can recommend appropriate treatment and cleaning solutions.
Use positive reinforcement, treats, and go gradually. If your dog remains resistant, seek guidance from a professional dog trainer or your vet for additional strategies.